
Last updated September 20, 2026
Full 25-point door and opener safety check with every visit - springs, cables, rollers, tracks, and your LiftMaster or Chamberlain opener included
You get a price before we start. It does not change when the truck arrives.

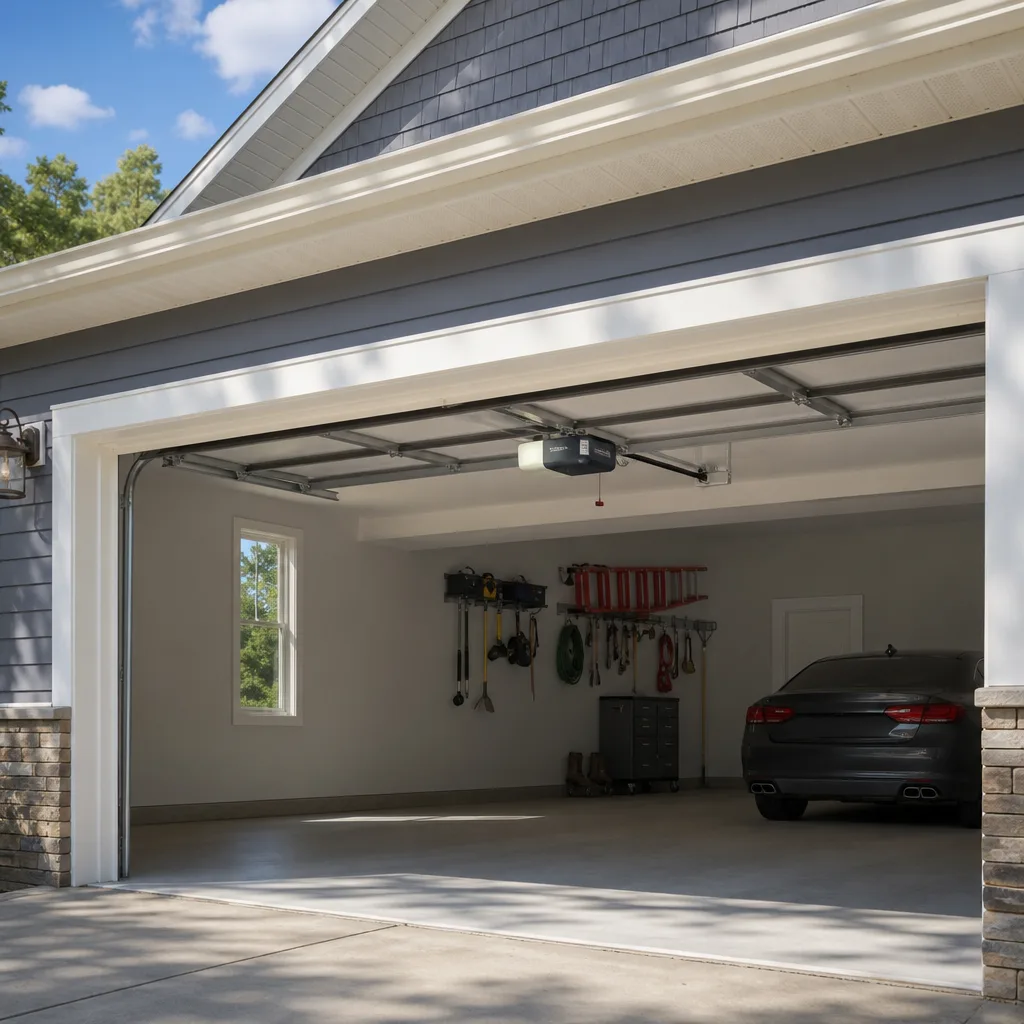
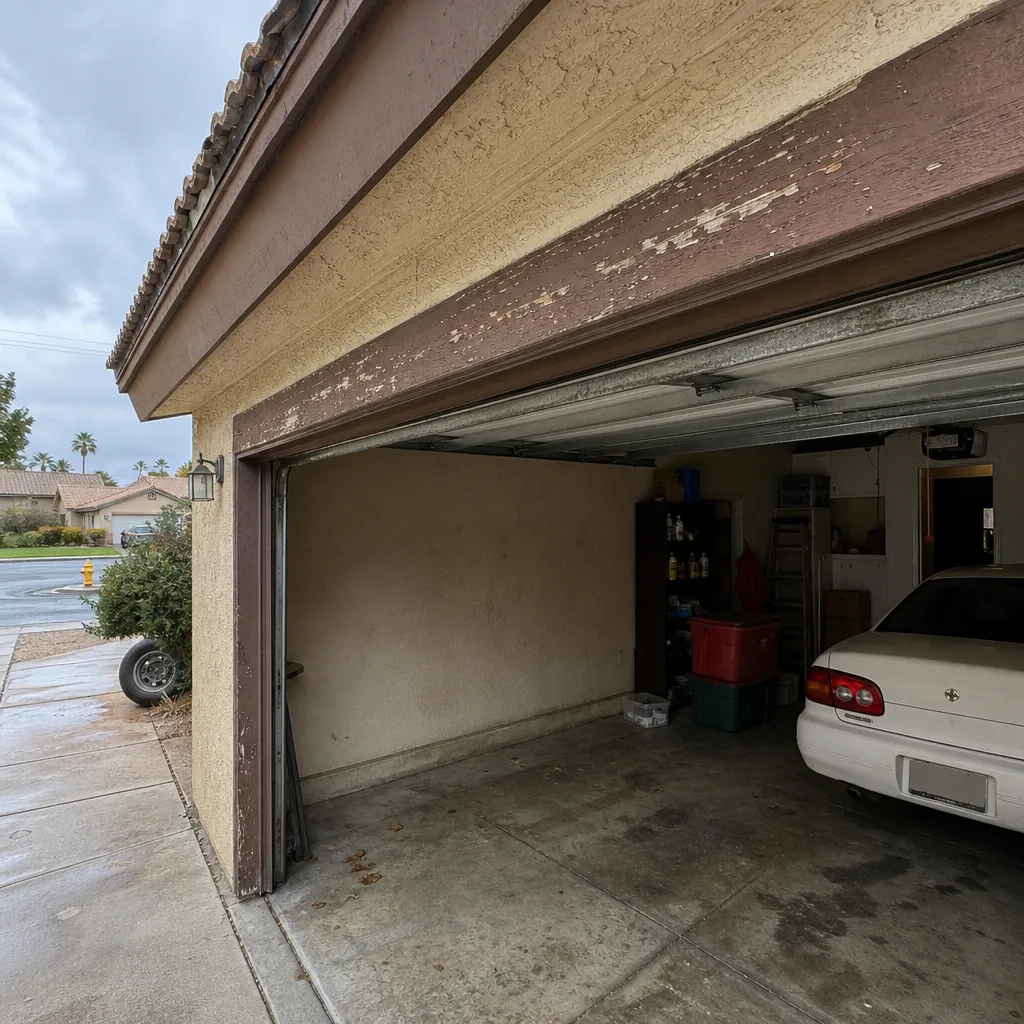 Before
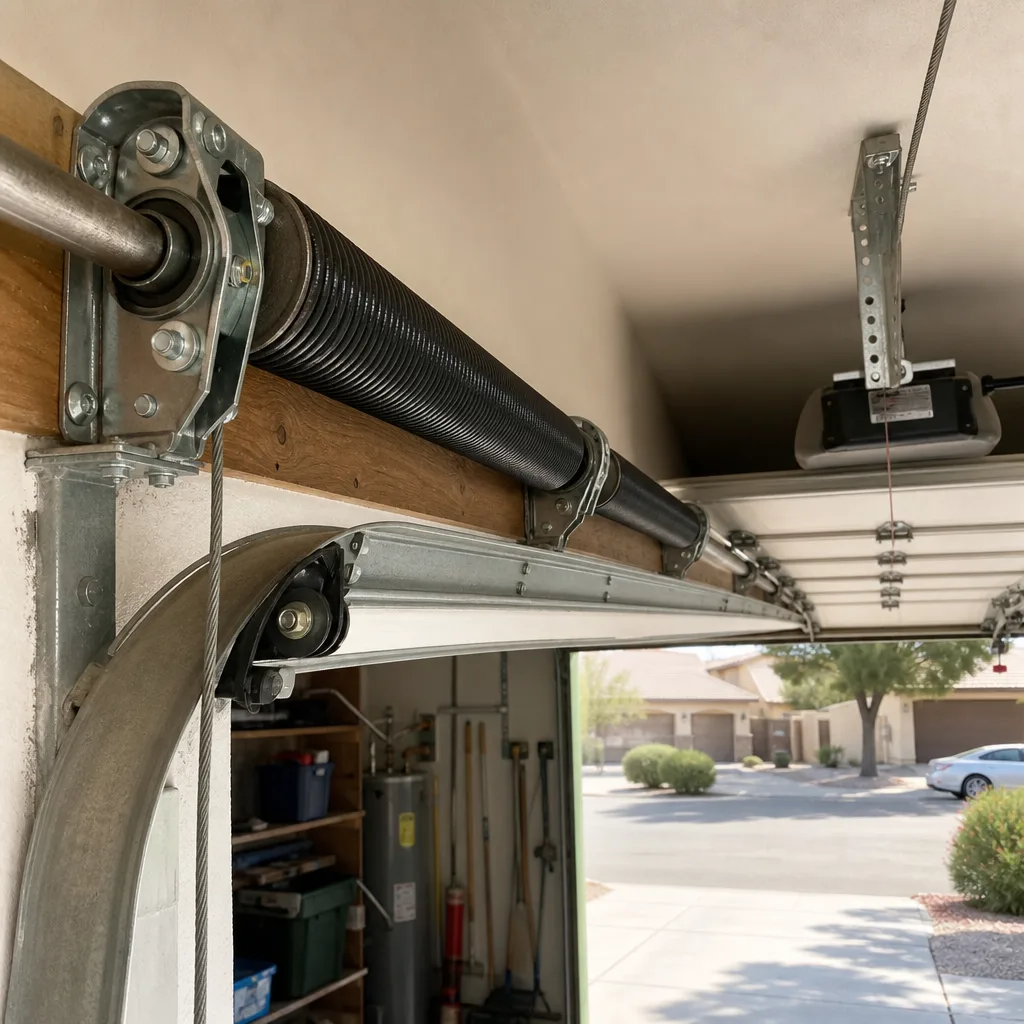 After
After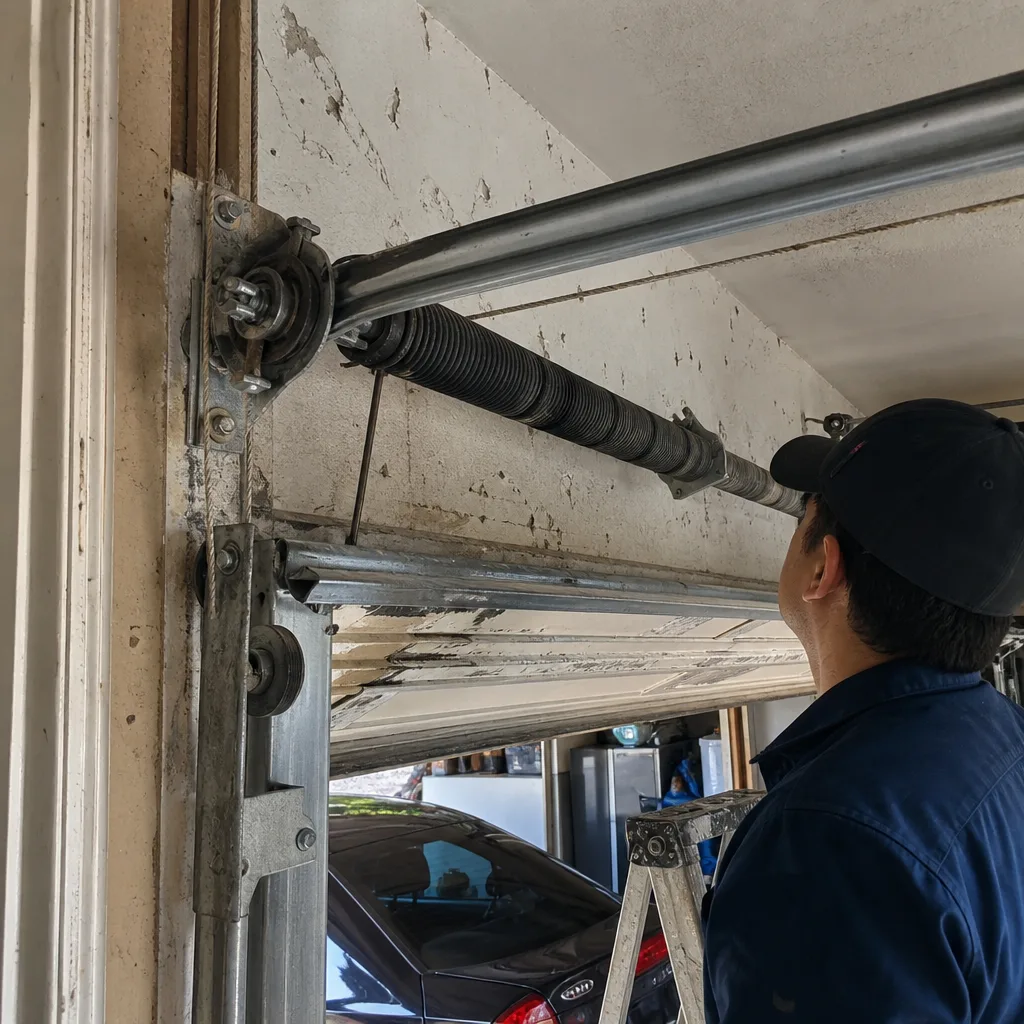 Before
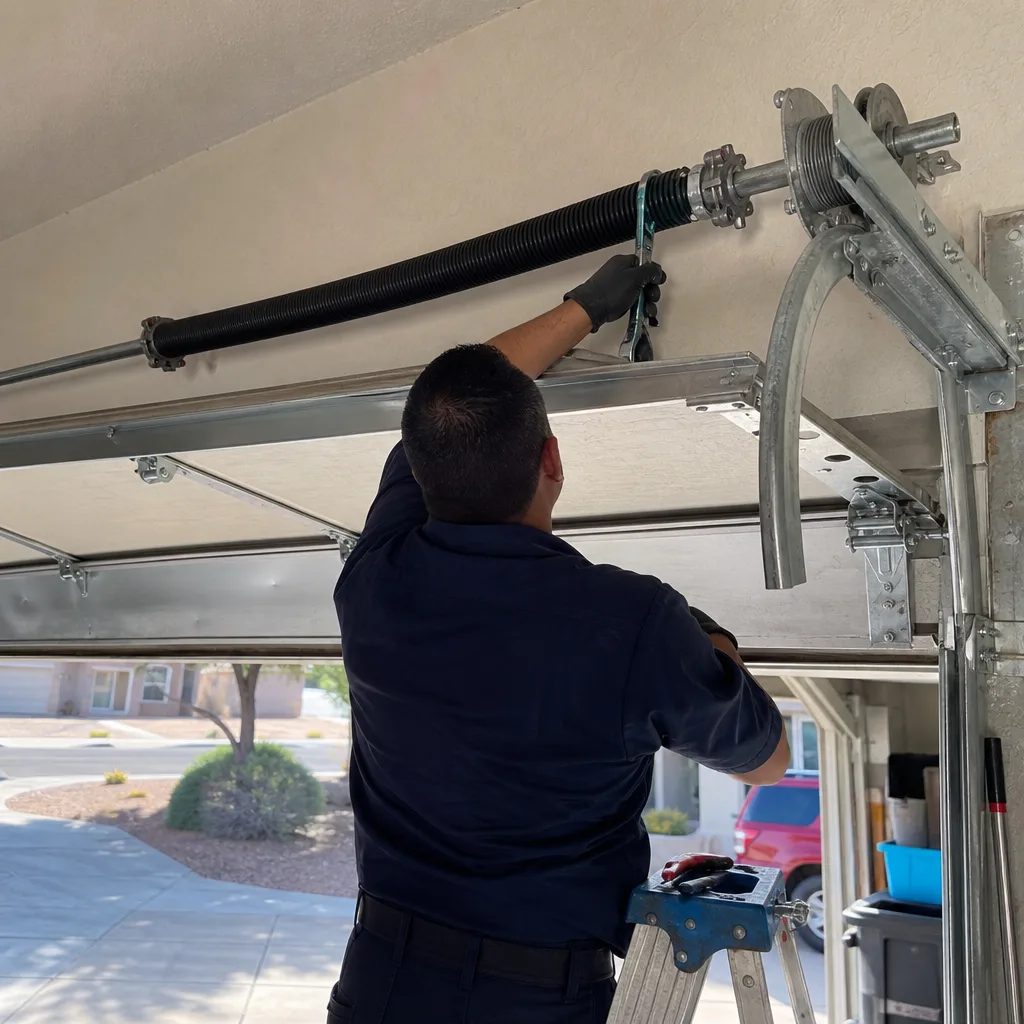 After
After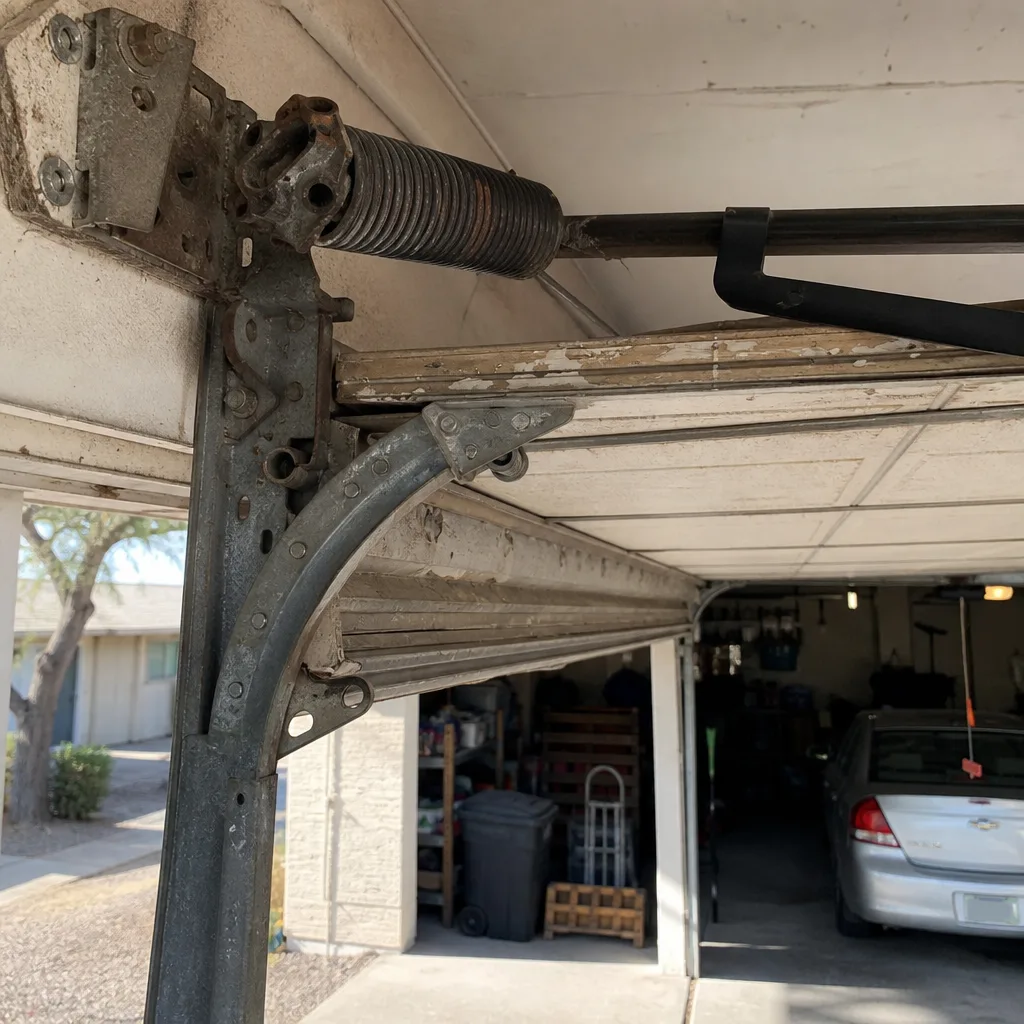 Before
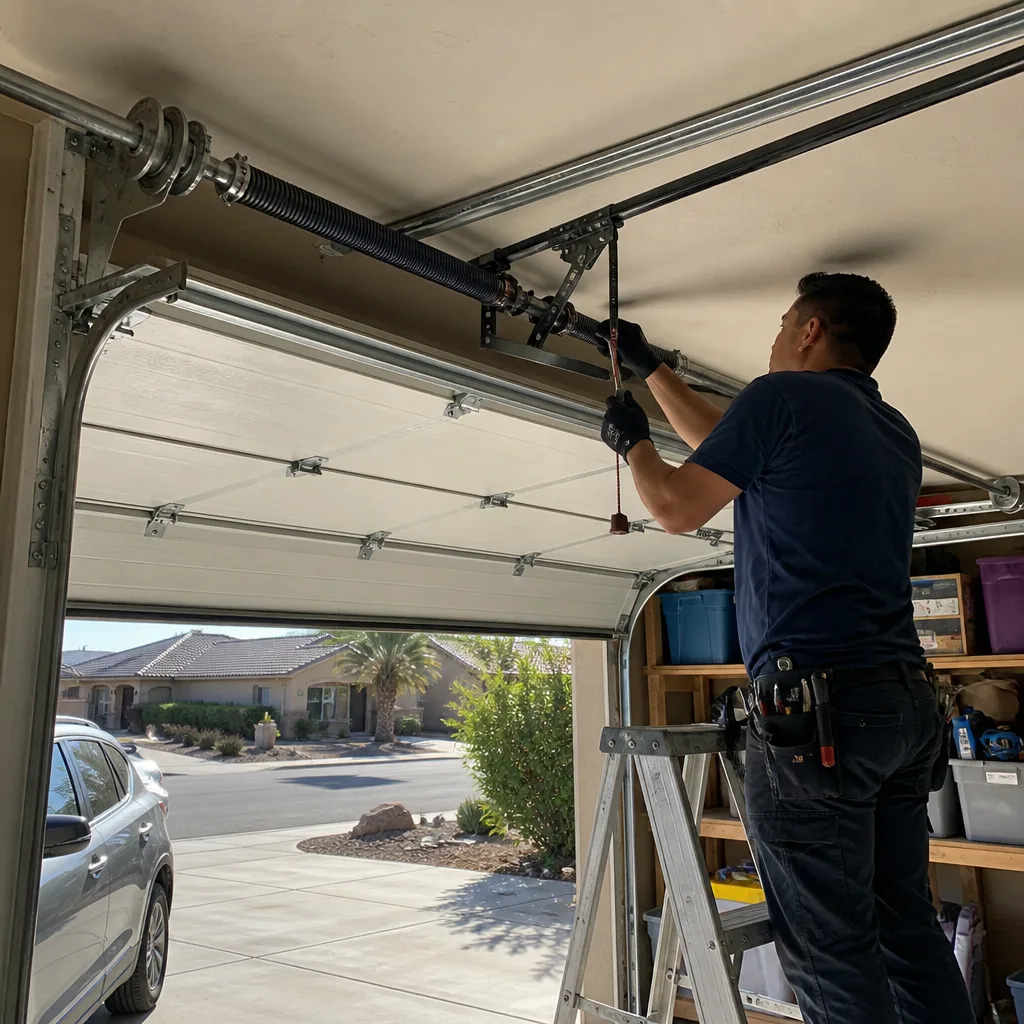 After
AfterGarage Door Repair Maintenance Checklist for Mesa Homeowners
Most maintenance guides tell you to check your springs first because springs are where the danger is. That’s backwards for Mesa. Here, nylon rollers degrade faster than any other component because July heat bakes the plastic until it turns brittle, and a roller that shatters at 2:30 on a Tuesday afternoon is a door that comes off its track and lands crooked, which is when the real repair bill starts. This checklist is organized by failure sequence, the order in which Mesa garage door components actually wear out, so you can catch an $18 roller before it becomes a $340 track replacement. We’ve serviced over 18,000 garage doors in Mesa since 2015, and the failure order hasn’t changed once: rollers, then seals, then cables, then springs, then tracks. If any of these components fail, our Garage Door Repair team can help. That’s the order this guide follows.
Quick Answer
A Mesa garage door maintenance checklist should follow the failure sequence, not the seasons: inspect nylon rollers for heat brittleness and replace worn ones ($18-$45 each) before they damage tracks; check the bottom seal for dry rot from sun exposure; lubricate metal parts every 4 months (not 6, because Mesa heat thins lubricants faster); measure your torsion spring gap so you know the exact spec before calling a technician; and photograph every component quarterly so you have a documented baseline. The two adjustments you can legally perform yourself in Arizona are lubrication and photo documentation. Everything else on a torsion spring system needs a licensed technician, and the average maintenance visit in Mesa runs $95-$180. For How to Hire a Garage Door Contractor in Mesa: A Step-by-Step Guide, see our detailed walkthrough.
Table of Contents
- Why Mesa’s Climate Changes the Failure Sequence
- Step 1: Roller Inspection (The $18 Part That Prevents the $340 Repair)
- Step 2: Bottom Seal and Weatherstripping in Mesa Sun
- Step 3: Cable Fraying and What It Looks Like Before It Snaps
- Step 4: Mesa’s Shorter Lubrication Schedule
- Step 5: Torsion Spring Gap Measurement and Documentation
- Step 6: Track Alignment and Deformation Inspection
- What You Can Legally Adjust Yourself in Arizona
- The Photo Documentation Baseline
- Common Mistakes to Avoid
- When to Call a Professional
- Frequently Asked Questions
- The Bottom Line
BeforeAfterWhy Mesa’s Climate Changes the Failure Sequence
National maintenance guides are written for places with four seasons and garage temperatures that stay below 90°F. Mesa is not that place. A garage on an east-facing lot in Mesa can hit 130°F inside during July and August, and that heat does very specific things to the materials in your door system. Nylon, the material used in most modern garage door rollers, loses plasticizer compounds when exposed to sustained heat above 100°F. The roller doesn’t just wear down; it becomes brittle from the inside, and then it shatters under load. We see this in Mesa neighborhoods from Dobson Ranch to Eastmark every summer, and the failure is never gradual. It’s sudden.
The second Mesa factor is UV exposure. The bottom seal on a garage door faces direct sunlight every afternoon on west-facing homes, and UV degrades rubber and vinyl at a rate that consistent 110°F days accelerate. A seal that lasts five years in Minneapolis lasts three in Mesa. Your maintenance schedule has to account for that, which is why this checklist orders components by how Mesa’s climate attacks them, not by how much a replacement costs.
The Failure Sequence, Ordered by What Breaks First in Mesa
- Nylon rollers – heat-induced brittleness, typically at the 3-5 year mark for original equipment
- Bottom seal – UV degradation and hardening, losing its compression seal at 2-4 years
- Lift cables – fraying from heat-cycled tension, showing single-strand breaks at 5-7 years
- Torsion springs – fatigue from thermal cycling, averaging 10,000 cycles or 7-10 years in Mesa’s heat
- Vertical tracks – deformation after a roller failure or cable snap, never the root cause but the most expensive outcome
Here’s the practical takeaway from this ordering: if you replace rollers at the first sign of brittleness, you eliminate the most common cause of track damage. For a full rundown of what to watch for, see our Garage Door Warning Signs: A Mesa Homeowner’s Reference Guide. If you wait until the door starts sounding rough, you’re already past the $18 fix and into the $250-$400 range. That’s not urgency theater; that’s the price spread we’ve documented on thousands of service calls.
For a deeper look at how these failures present in Mesa specifically, see our Garage Door Repair in Mesa page, where we catalog the most common repair patterns we see by neighborhood.
Step 1: Roller Inspection (The $18 Part That Prevents the $340 Repair)
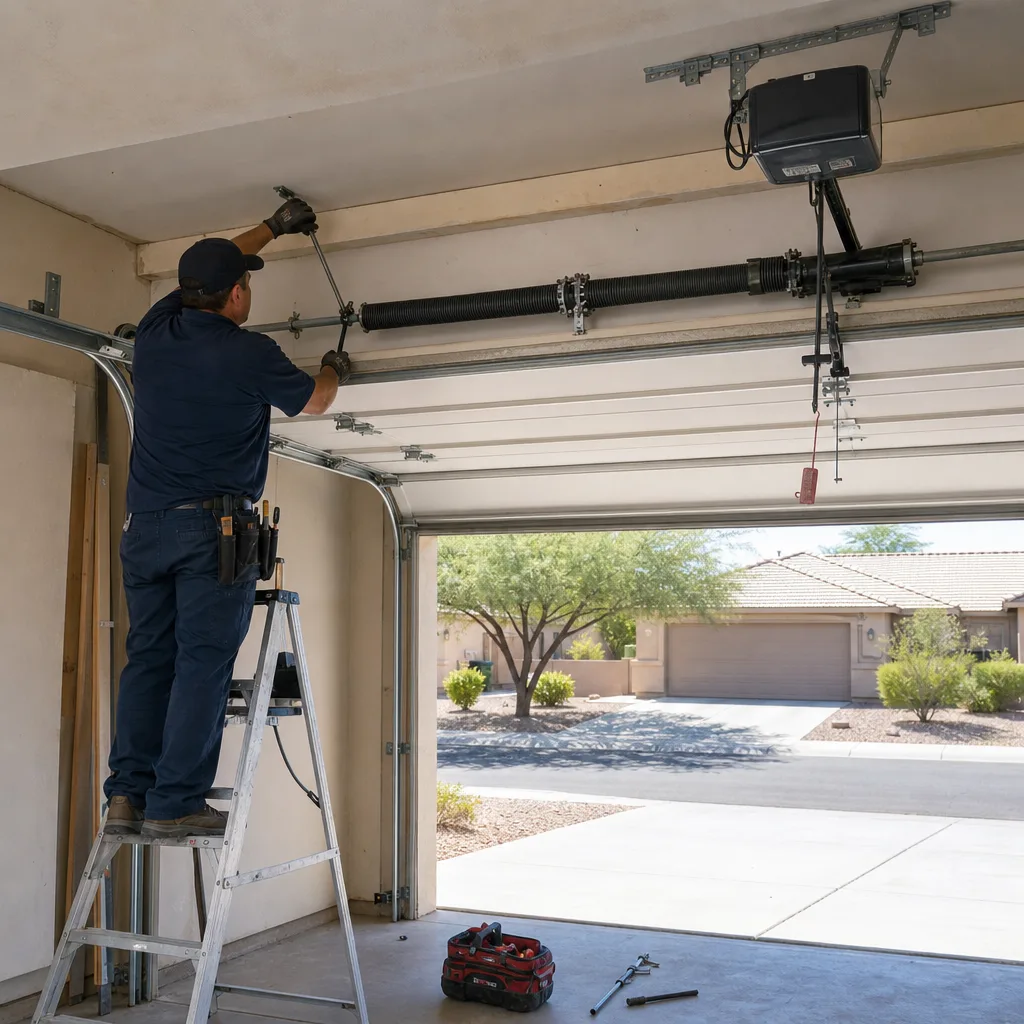
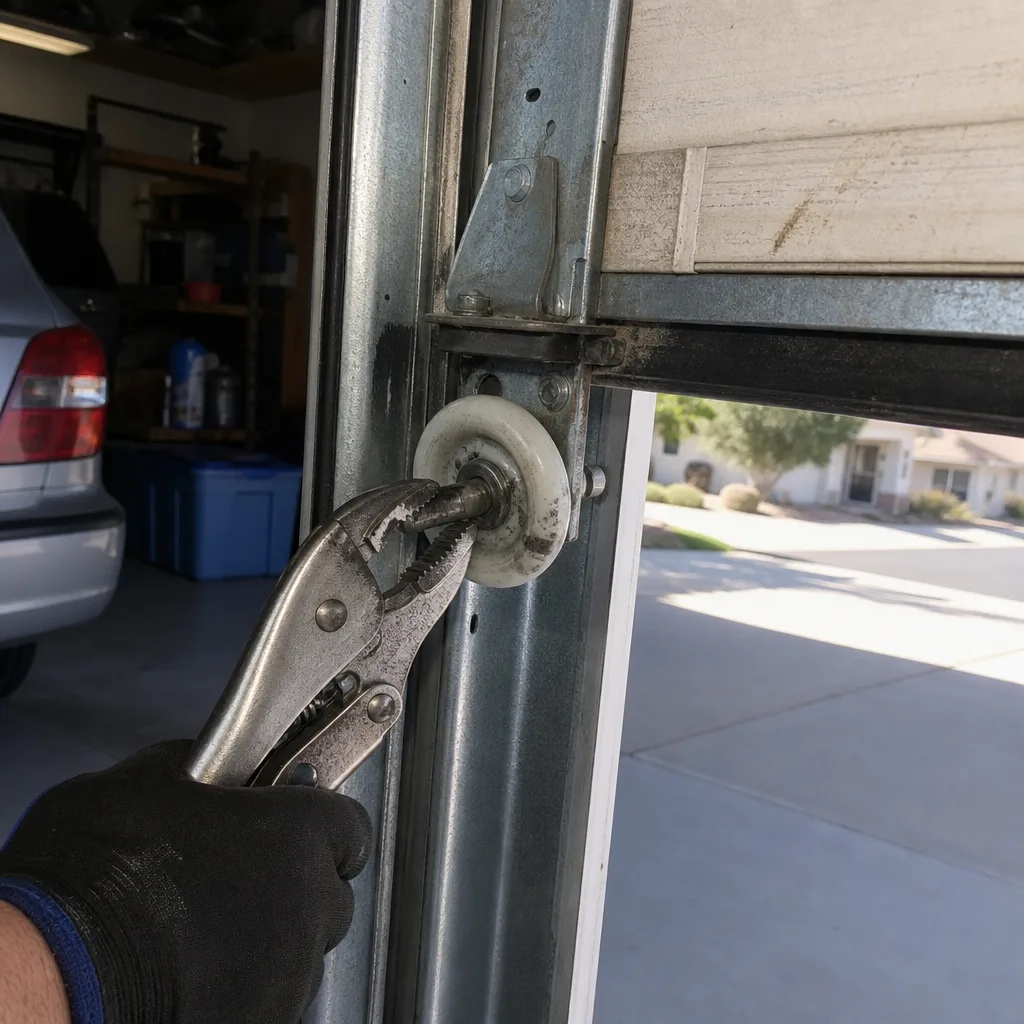
Rollers are the component that fails first in Mesa, and they’re also the one most homeowners never inspect because they’re hidden inside the track. Here’s how to check them without special tools. Close the door fully, then look at the rollers on the bottom panel where they emerge from the vertical track. With a flashlight, look at the nylon wheel surface. A healthy roller has a uniform off-white or gray color and a smooth circumference. A roller that’s beginning to fail shows one of three things: fine cracks radiating from the center hub, a yellowed or chalky appearance, or a flattened spot where the wheel sat against the track. Any of those means the nylon has lost its flexibility.
Here’s a fast test. With the door closed and the opener disengaged, manually run the door up and down by hand. Listen to each roller as it passes the horizontal track curve. A healthy nylon roller is nearly silent. A roller that’s starting to fail makes a rough, grinding sound that’s distinct from the normal metallic tick of the hinges. That grinding is nylon fragments being crushed against the track.
Roller Replacement Costs in Mesa
- Basic nylon rollers: $18-$28 per roller, parts and labor included
- 10-ball bearing nylon rollers (quieter, longer-lasting in heat): $32-$45 per roller
- Full set replacement (typically 10-12 rollers): $160-$280 total
Do not lubricate nylon rollers. The nylon wheel rides on a sealed bearing, and any spray lubricant you apply to the wheel will collect dust and accelerate wear. What you lubricate on a roller is only the bearing, and only if it’s a serviceable bearing, which most residential rollers are not. This is one of the most common homeowner errors we document in our photo records on maintenance visits in Mesa.
The reason this matters beyond the obvious: when a roller shatters and the door comes down unevenly, the cable on the unbroken side takes the full weight, and that’s what bends track sections. A $18 roller becomes a $340 track replacement plus the roller, plus the service call. That’s the single most preventable repair in Mesa garage door maintenance, and it’s entirely inspectable in ten minutes.
Homeowners who want a professional baseline should consider a maintenance visit. We bring a documented photo record on every visit, so you see exactly what each roller looked like on the day we inspected it. That’s the documentation standard at Servo Garage Doors Mesa home where the photo record is included, not optional.
Step 2: Bottom Seal and Weatherstripping in Mesa Sun
The bottom seal is the second thing to degrade in Mesa, and it fails in a way that’s deceptively easy to miss because you rarely look at the bottom of your garage door from the outside. The seal is a flexible strip of rubber or vinyl attached to the bottom panel of the door, and its job is to compress against the concrete slab to keep dust, monsoon water, and 115°F outside air from entering the garage. In Mesa, the failure mode is hardening. The seal loses its ability to compress, which means it no longer follows the micro-variations in your slab, which means a gap forms that you can’t see from inside the garage because the door itself blocks the light.
Here’s how to check it properly. Open the garage door halfway, then walk outside and sight along the bottom of the door from the driveway side, at ankle height. Look for daylight showing between the seal and the slab. If you see light, you have a gap, and the gap is letting heat and dust in, and during a monsoon, it’s letting water in too.
The second check is tactile. Pinch the seal between your fingers. A healthy seal is soft and springs back immediately. A failing seal feels stiff, and if you press your thumbnail into it, the indent stays. That’s UV-damaged material that’s lost its plasticizer, and no amount of lubricant or sealant will restore it. It needs replacement.
Bottom Seal Replacement Notes for Mesa
- Replacement type: EPDM rubber outperforms vinyl in sustained heat and UV exposure; expect to pay $45-$85 for the material alone, or $110-$180 installed
- Common brands we service: Clopay and Amarr both use channel-fit seals; universal T-style seals work for most other residential doors
- Monsoon season check: run this inspection every June before the first storm, not after water has already entered the garage
One note about seal replacement that gets overlooked: the new seal will be taller than your old compressed one, which changes the closed-door clearance slightly. On most doors that’s not a problem unless your opener’s travel limits are set very tight. If the door now binds at the bottom or the opener reverses immediately after closing, the limit setting needs adjustment, and that’s a two-minute job for a technician. Don’t adjust the limit screws yourself on a new opener; those settings interact with the force sensors, and getting them wrong can disable the auto-reverse safety function.
Step 3: Cable Fraying and What It Looks Like Before It Snaps
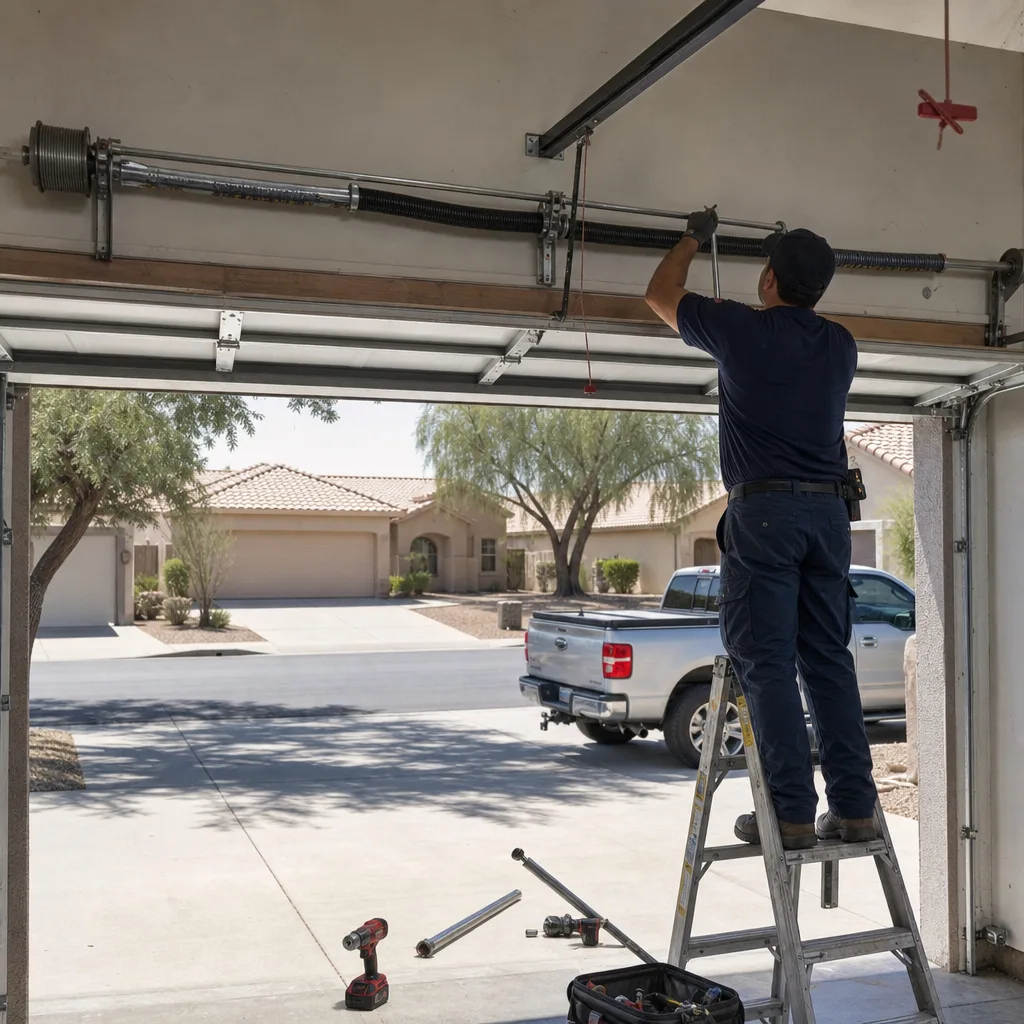
Lift cables are the third item in the Mesa failure sequence, and they’re the one that scares people most because a snapped cable drops the door unevenly and makes a sound you can hear from inside the house. The good news is that cables telegraph their failure long before they break. The bad news is that most homeowners never look at them. The cables are the twisted steel wires that run vertically along each side of the door, connecting the bottom bracket to the cable drum at the top of the torsion spring assembly. In Mesa, heat-cycled tension stress causes individual wire strands to break one at a time, and you can see those broken strands if you know where to look.
Here’s the inspection. With the door closed, look at the cable where it meets the bottom bracket, and again where it wraps onto the drum. Run your fingers along the cable, lightly, wearing a glove. A healthy cable feels smooth and consistent. A cable that’s beginning to fail will feel like it has a burr, a rough patch where one or two individual strands have snapped and are sticking out from the cable’s twist. That’s the early warning sign. If you see multiple broken strands across the cable’s diameter anywhere, or if the cable looks like it’s thinning in one spot, that’s a replacement item, not an inspection item.
Here’s the key safety point: do not attempt to replace a lift cable yourself on a torsion spring system. The cable is under the full tension of the spring, and removing it incorrectly can release that stored energy into your hands or face. This is a no-exception professional repair. The cost for cable replacement in Mesa, including both cables (they’re replaced as a pair) runs $130-$200, and that’s with the door balanced and the tension re-set correctly. A cable that snaps while the door is opening is dangerous, but a cable that snaps because a homeowner released the tension improperly is worse, because there’s no predictable trajectory for the components.
If you have a Chamberlain or Genie opener, the force settings on those units will sometimes mask a failing cable by compensating with additional motor force, which means the door still opens even as one cable degrades. Don’t interpret a smooth-opening door as proof of healthy cables. Visual inspection is the only reliable check.
Step 4: Mesa’s Shorter Lubrication Schedule
National advice says lubricate your garage door every six months. In Mesa, that’s too long. The heat that accelerates nylon brittleness also thins lubricants. A white lithium grease rated for a six-month service interval in Ohio will be running thin after four months of Mesa summer temperatures, which means metal-on-metal contact on the hinges and bearing plates during the hottest months, which is the opposite of what you want. Our documented maintenance records from 18,000+ Mesa service calls support a four-month lubrication interval here, and a five-month interval is the absolute outside edge if you’re using a high-temperature rated product.
What to lubricate: the torsion spring itself, the hinge pivots, the bearing plates at the ends of the torsion tube, and the track where the rollers ride. What not to lubricate: the nylon roller wheels (they’re sealed), the chain on a chain-drive opener (it’s designed to run clean), and the track surface itself (lubricant there attracts dust and creates an abrasive paste).
Recommended Products for Mesa Garage Doors
- White lithium grease spray: good general-purpose hinge and spring lubricant, but verify the temperature rating; some formulations thin above 100°F
- Silicone spray with PTFE: our preferred lubricant for Mesa heat; it maintains viscosity above 110°F and won’t attract dust
- Gear oil (30W or 40W): for screw-drive opener assemblies from Genie; applied sparingly, once per year
- What to avoid: WD-40, motor oil, cooking spray, and anything marketed as a “penetrating oil”; none of these are long-term lubricants, and in heat they migrate or evaporate
Here’s the lubrication procedure, as a numbered sequence that takes about 20 minutes. First, close the door. Second, disconnect the opener by pulling the release cord, so you can move the door manually. Third, apply lubricant to each hinge pivot, working top to bottom on both sides. Fourth, apply a light coat to the torsion spring, running the spray along the coil gap. Fifth, apply one drop to each bearing plate at the ends of the torsion tube if they’re exposed, or spray the bearing if it’s a sealed cartridge. Sixth, reconnect the opener and run the door through one full cycle to distribute the lubricant. Wipe away any drips on the track where the rollers ride; you want that surface clean, not wet.
For Mesa homeowners who don’t want to handle this themselves, lubrication is included as part of a standard maintenance visit. It’s also one of the adjustments you can legally perform yourself, which we cover in the DIY section below. You can also explore more guides & resources on our blog.
Step 5: Torsion Spring Gap Measurement and Documentation
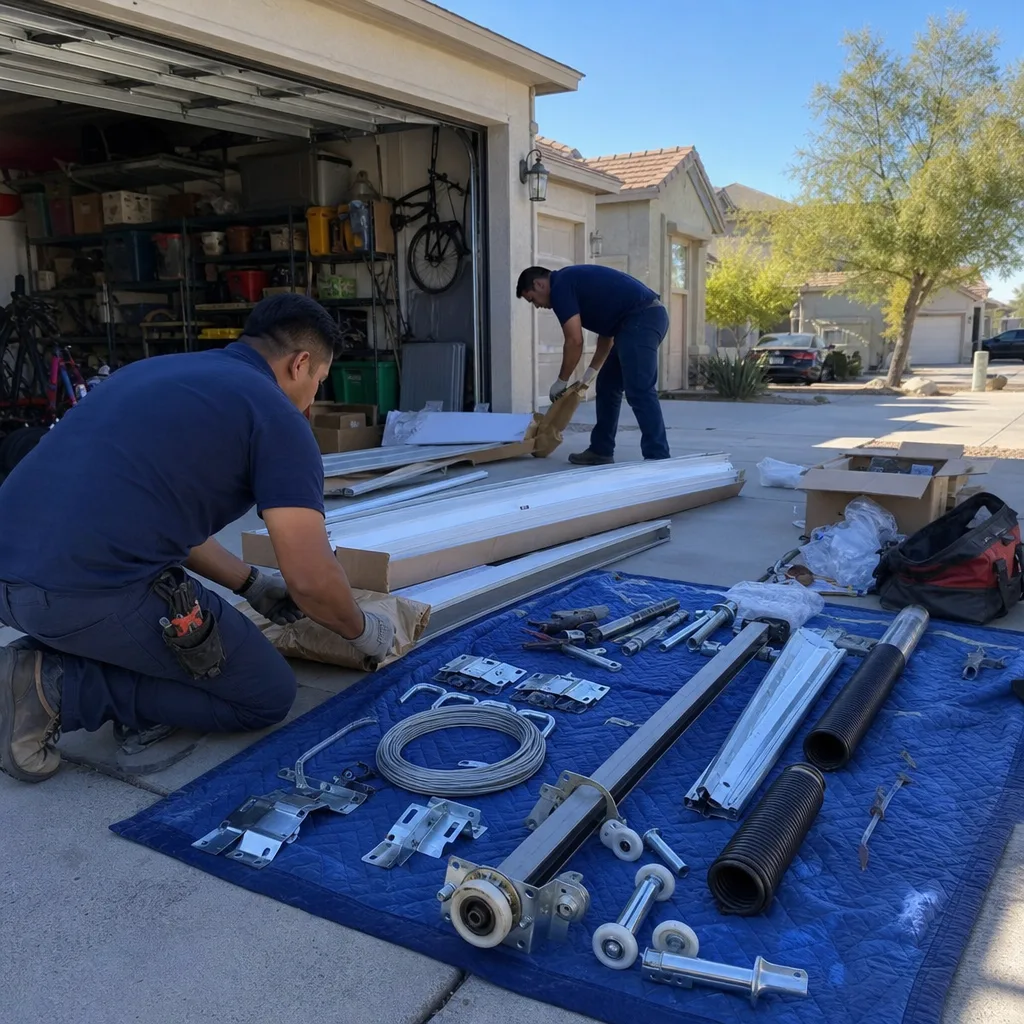
Torsion springs come fourth in the Mesa failure sequence because they fail at a predictable cycle count, usually 10,000 cycles, which in a typical Mesa household that opens the door three to four times per day means seven to ten years of service. But heat accelerates the fatigue rate, because the spring is under constant tension and thermal cycling adds micro-stress to the steel. The practical result is that Mesa springs sometimes fail at the seven-year mark instead of ten, and when they fail, they fail in a specific, visible way that you can measure and document.
Here’s what to look for. When a torsion spring breaks, it separates at a single point along the coil, leaving a visible gap where the spring was continuous before. That gap is measurable. Take a ruler or measuring tape and measure the distance between the two broken ends of the coil after the door is closed and the spring is at rest. Typical gaps range from half an inch to two inches. Write that number down. That measurement tells a technician the wire diameter of the spring, because the gap size correlates with the spring’s installed length and wire gauge. More importantly, it lets you give an exact spec over the phone: “The left spring broke, the gap measures three-quarters of an inch.” That’s the kind of information that gets you an accurate price range before anyone drives out, which is how our Garage Door Opener Repair & Installation in Mesa team prefers to work: written price, written scope, no surprises.
Here’s the critical safety note: a broken torsion spring means the door is not safe to operate manually. The spring is what counterbalances the door’s weight; without it, the door weighs 150 to 250 pounds depending on the panel material, and the opener motor may not be able to hold it. If your spring is broken, leave the door closed, disconnect the opener, and call a professional. Do not attempt to remove the spring, clamp it, or release its residual tension.
Spring replacement in Mesa runs $180-$340 for a standard pair, depending on wire diameter and cycle rating. The spring itself is a $40-$80 part; the labor is in the tensioning, which requires winding bars and a specific sequence that is genuinely dangerous to attempt without training. When we replace springs, the customer receives a photo of the broken spring before we touch anything, per Clause 4 of The Haven Standard, and the photo record shows the new spring’s wire diameter and markings after installation. You should expect the same documentation from any company you hire.
Step 6: Track Alignment and Deformation Inspection
Track deformation is the last item in the sequence because it’s the outcome of another failure, not the root cause. But it’s on this checklist because when it happens, it’s the most expensive repair short of a full door replacement, and it’s worth knowing how to inspect for it so you can catch the early signs before a full replacement becomes necessary.
The vertical tracks are the steel channels on each side of the door that guide the rollers. They’re mounted to the wall with brackets, and they can be bent, pushed inward, or knocked out of alignment by three things in Mesa: a shattering roller that jams between the roller and the track, a cable snap that drops one side of the door suddenly, or monsoon-season winds that bow a partially opened door. Here’s how to inspect. With the door closed, run your hand along each vertical track from the floor to the horizontal curve. Feel for a bulge, a kink, or a spot where the track is visibly narrower than the rest. That narrowing is where a roller will bind. Then look at the gap between the roller wheel and the track interior; it should be uniform, about an eighth of an inch. If the gap varies, the track is out of parallel, and the door is running unevenly.
The second check: open the door halfway and look at the horizontal track sections where they meet the vertical curve. That joint is the most stressed point on the entire track system, and it’s where deformation shows first. If you see stress marks on the metal, a slight outward bow, or a gap at the bracket connection, that’s an alignment issue that a technician can often correct with a track adjustment, which runs $110-$180. A full track replacement, which involves removing the spring tension, replacing both vertical and both horizontal sections, and re-hanging the door, runs $340-$600 depending on the door width. That’s the repair you avoid by replacing a $18 roller at the first sign of brittleness.
For homeowners with a Clopay or Amarr door, track profiles are manufacturer-specific, and universal tracks from a big-box store will not match the original radius. Replacement tracks should come from the same manufacturer or a supplier who stocks the correct profile. That’s a documentation question worth asking before you approve any quote.
What You Can Legally Adjust Yourself in Arizona
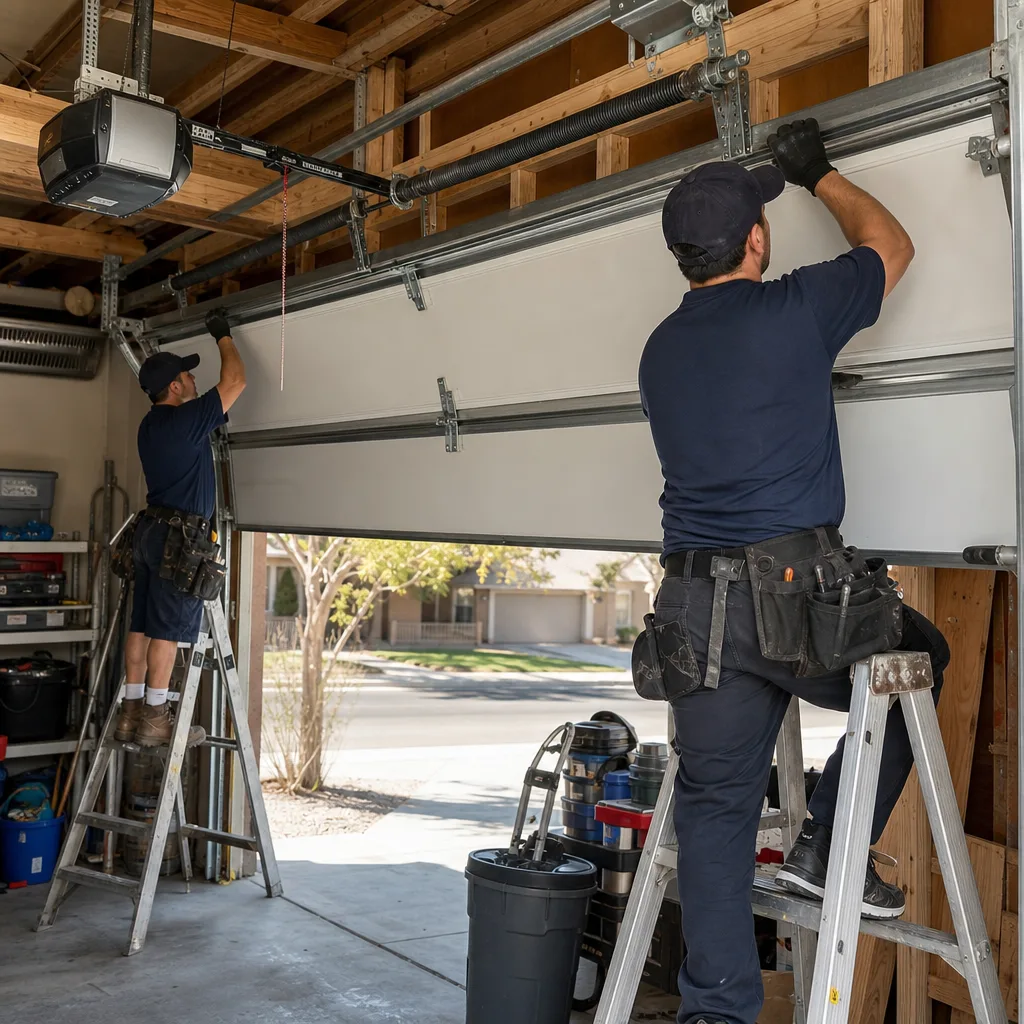
Arizona doesn’t have a statute that says “homeowners may not touch their garage door,” but manufacturer warranties do have language that’s effectively the same thing, and it’s worth reading that language before you pick up a wrench. Most residential garage door manufacturers, including Chamberlain and Genie on the opener side, and Clopay and Amarr on the door side, void warranty coverage if a non-professional adjusts or modifies the door’s tension system, its electrical components, or its safety mechanisms. That leaves exactly two adjustments that are safe and legally clear for a homeowner to perform in Arizona, and we’ll cover both below.
Adjustment 1: Lubrication
This is the only maintenance task that every manufacturer explicitly approves for homeowner application. You’re not adjusting anything; you’re applying a product to reduce friction on components that are designed to be lubricated. The procedure is covered in the lubrication section above. Do it every four months in Mesa.
Adjustment 2: Photo Documentation
This is the second thing you can and should do yourself, and it’s the one that protects you more than any other single action on this checklist. Photograph your door system quarterly: the rollers in the track, the cables at the bottom bracket, the spring gap, the track interior, and the seal. Store those photos in a folder with the date. When a technician tells you a component “was already like that” or “has been wearing for a while,” you have a time-stamped visual record that either confirms or contradicts that claim. This is the exact same principle we apply on our service visits, where the documented photo record means you see the failed part before anyone quotes a replacement. It’s Clause 4 of The Haven Standard, and it works just as well from your phone as it does from our camera.
What you cannot legally adjust: torsion spring tension, cable replacement, opener limit settings, force sensors, track alignment, and any electrical work on the opener. These are all professional jobs, and in the case of the spring and cables, attempting them is genuinely dangerous. The tension stored in a wound torsion spring is enough to break a wrist or worse if released incorrectly. A respected technician will never tell you to “just tighten it a few turns” over the phone; they’ll send someone who does this every day.
The Photo Documentation Baseline
We’ve mentioned photo documentation multiple times in this guide, and this section tells you exactly how to create a baseline that makes “it was already like that” claims impossible. The principle is simple: you cannot argue with a time-stamped photograph. But the execution matters, because a blurry photo of the door from across the garage proves nothing. Here’s a numbered process that takes fifteen minutes and produces a complete visual record of your door’s condition.
- Set up consistent framing. Stand in the same spot for each shot, every quarter. Mark the spot with a piece of tape on the floor if needed.
- Photograph each roller in its track. That’s typically ten to twelve shots, one per roller. Get close enough that the wheel surface is visible. The cracks that signal nylon brittleness show up better in photos than in person.
- Photograph both cables where they meet the bottom bracket, and again where they wrap onto the drum. Use a flash; broken strands catch the light.
- Photograph the spring from both ends. If the spring breaks later, you’ll have a “before” image that shows the spring was continuous and unbroken.
- Photograph the seal from outside, at slab level, on both sides and the center.
- Store the photos in a dated folder. Cloud storage works. The date stamp is the point.
This baseline serves three purposes. It helps you see changes over time, so you catch degradation early rather than after a failure. It gives a technician exact visual context before they arrive, which improves the accuracy of any phone quote. And it protects you from the rare but real scenario where an unscrupulous company claims existing damage was caused by their work or vice versa. This is the same documentation standard that made Servo Garage Doors Mesa home what it is: our customers see the failed part before anyone quotes a replacement, every time.
Common Mistakes to Avoid
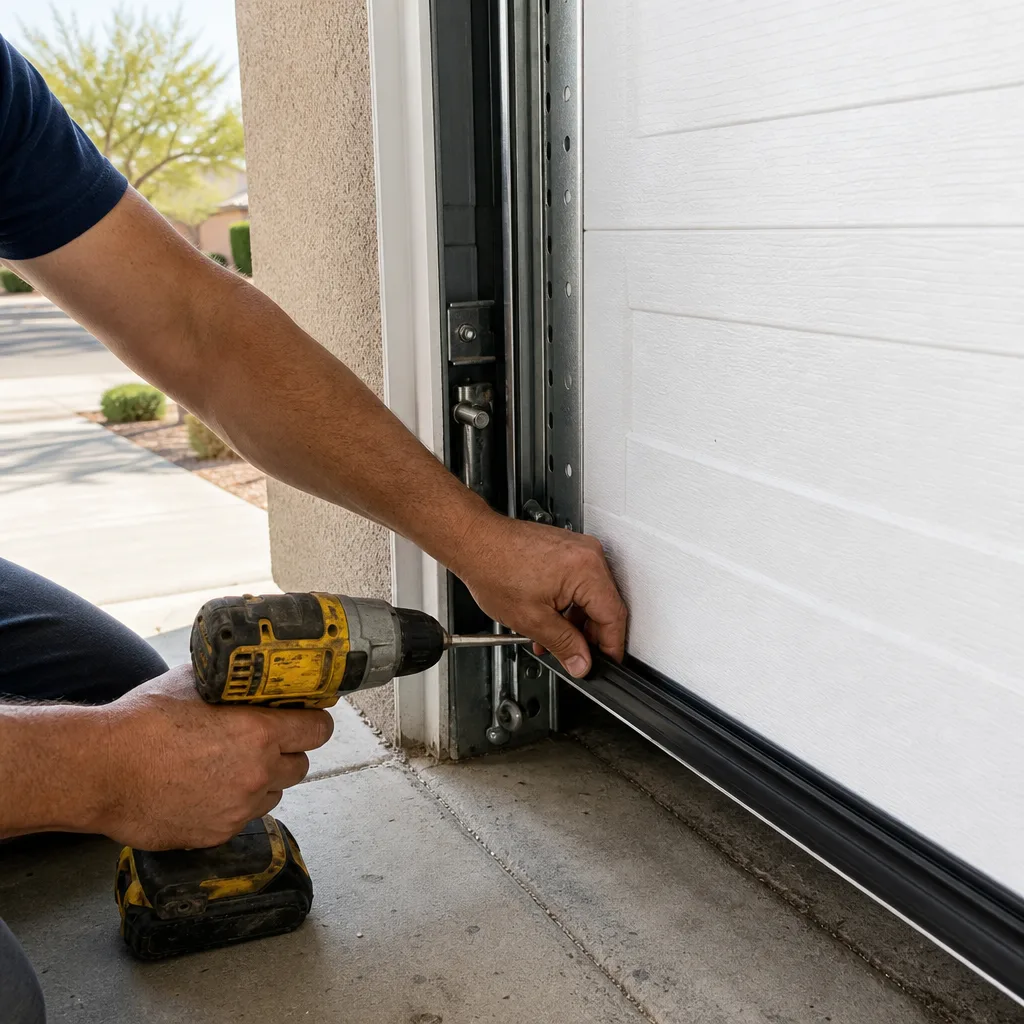
- Lubricating nylon rollers. This is the most common mistake we see in Mesa. The nylon wheel rides on a sealed bearing; spray lubricant on the wheel collects dust and sand, which grinds into the track. If you’re lubricating roller wheels, you’re making the problem worse.
- Using the wrong lubricant in the heat. WD-40 and penetrating oils evaporate quickly above 100°F. A white lithium grease that thins at 105°F is not a four-month lubricant in Mesa; it’s a one-month lubricant, and it leaves your hinges running dry in August when you need them quietest.
- Ignoring a rough-sounding door and waiting until it fails. That grinding sound is a roller coming apart. Waiting turns a $18 part into a bent track and a $340 repair. The sound is the warning system; listen to it.
- Adjusting the spring tension yourself. No legitimate technician will recommend this, and no manufacturer warranty covers the results. The spring is under enough tension to maim. Do not do it.
- Checking the bottom seal from inside the garage. You cannot see a slab gap from inside because the door blocks the light. Walk outside and sight along the bottom of the door at ankle level.
- Thinking your opener’s smooth operation means your cables are healthy. Modern Chamberlain and Genie openers compensate for cable friction with additional motor force, which hides early cable wear. Visual inspection is the only check that works.
- Calling a company that quotes over the phone without photos. A price given before the technician sees the door is a guess, not a quote. In Mesa, where heat-related failures have specific signatures, the company that asks for photos first is the one taking the job seriously.
When to Call a Professional
Any work on torsion springs, lift cables, and track alignment is a professional job, full stop. If your spring is broken and the door won’t lift, disconnect the opener and leave the door closed; that’s a safety issue, not a convenience issue. If your cables are fraying or showing broken strands, the same rule applies. If a roller has shattered and the door is hanging crooked, do not attempt to raise it. The most expensive repair we see in Mesa is self-inflicted: a homeowner who tried to lift a door with a broken spring and bent the panels, the tracks, and the opener rail in the process. That turns a $300 repair into a $1,200 problem. When in doubt, call. Garage Door Installation in Mesa work, meaning full replacements, should always include a professional assessment first, because door weight and spring rating have to be matched exactly.
Servo Garage Doors Mesa offers free estimates in Mesa, and the price is written, flat, and scoped before any work starts. Call (520) 391-9660.
Frequently Asked Questions
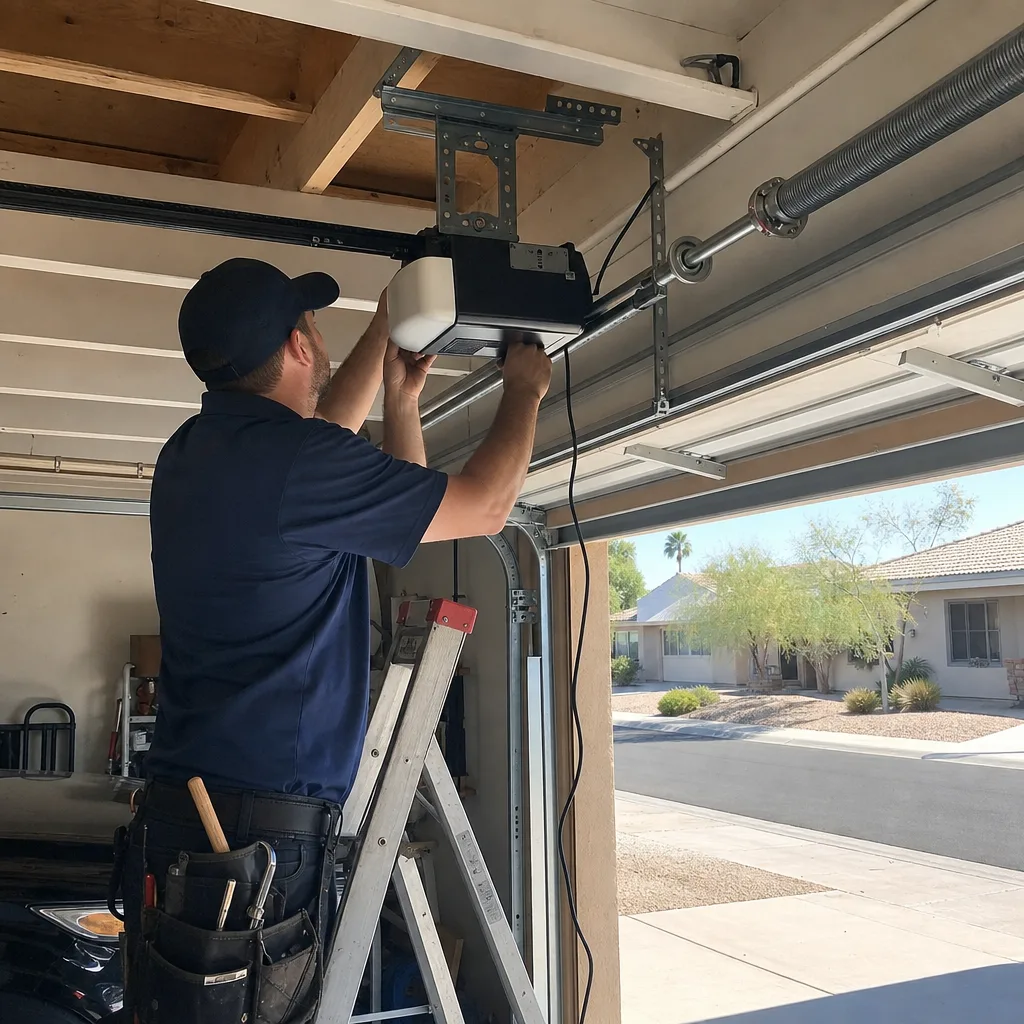
A standard garage door maintenance visit in Mesa runs $95-$180 depending on the door type and whether the visit includes opener diagnostics. The price is quoted as a flat, written scope before any work starts, and it includes the full inspection, lubrication, minor adjustments, and a documented photo record of findings, per Clause 1 and Clause 4 of The Haven Standard.
Every four months is the documented interval that prevents heat-related lubricant failure in Mesa. National advice says six months, but lubricants thin out above 100°F, and Mesa garages regularly exceed that for weeks at a time from June through September. Use a silicone spray with PTFE. For an exact quote on a maintenance plan, call (520) 391-9660.
A broken torsion spring shows a visible gap in the coil, typically half an inch to two inches, where the spring separated. Measure the gap with a ruler and provide that spec to any technician before they dispatch; it gives an accurate spring size and helps produce a written, flat price before the technician drives out.
You can inspect rollers yourself, and you can photograph them, but replacing rollers on a torsion spring door requires removing the bottom brackets, which are under spring tension. That’s a professional job. Roller replacement in Mesa runs $18-$45 per roller installed, and a full set replacement is $160-$280.
Mesa’s heat shortens the average torsion spring life to about seven to ten years, or roughly 10,000 cycles, compared to 12-15 years in cooler climates. The thermal cycling adds fatigue stress, and the failure often comes in the summer months when the steel is hottest. Spring replacement in Mesa is $180-$340 for a standard pair.
Yes, run the seal inspection every June before the first monsoon storm. A hardened seal that looks intact from inside may have lost its compression and will leak water and dust during the first heavy rain. Replacement runs $110-$180 installed. Estimates are free; call (520) 391-9660 for an exact written price.
The Bottom Line
The Mesa garage door maintenance checklist is a failure sequence, not a season list. Rollers fail first because heat embrittles nylon. Then the bottom seal because UV hardens it. Then cables, then springs, then tracks. If you inspect in that order, you catch a $18 roller before it takes out a $340 track, and you catch a fraying cable before it snaps and drops a 200-pound door. Lubricate every four months with a silicone PTFE spray, measure your spring gap when it breaks, photograph everything quarterly, and never touch the spring tension yourself. Do those things and your garage door in Mesa will outlast the national average, with a paper trail to prove it. And when something does fail, you’ll know exactly what to ask for: a written price, a flat scope, and a photo record of what was found. That’s how a maintenance plan becomes an insurance policy.
Written by Marcus Deller, Owner at Servo Garage Doors Mesa, serving Mesa since 2015.