
Last updated September 20, 2026
Full 25-point door and opener safety check with every visit - springs, cables, rollers, tracks, and your LiftMaster or Chamberlain opener included
You get a price before we start. It does not change when the truck arrives.

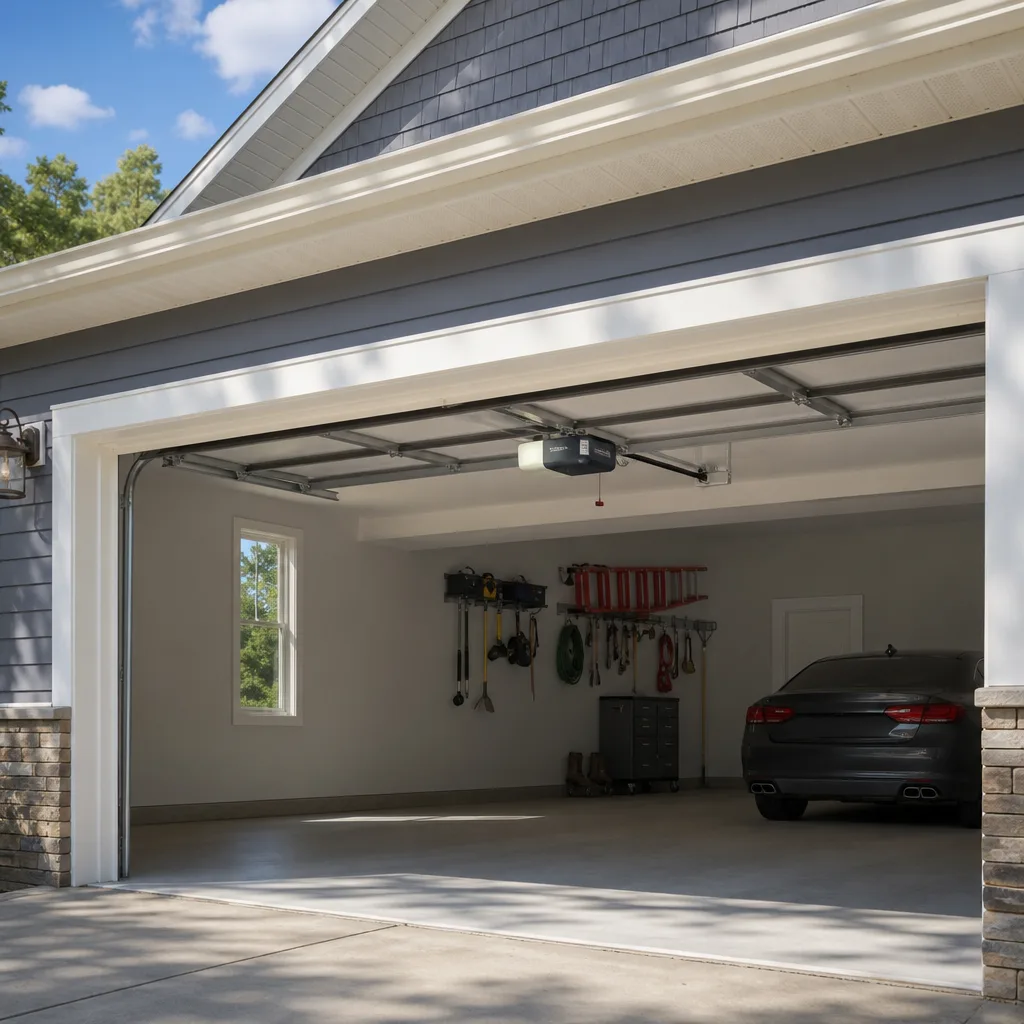
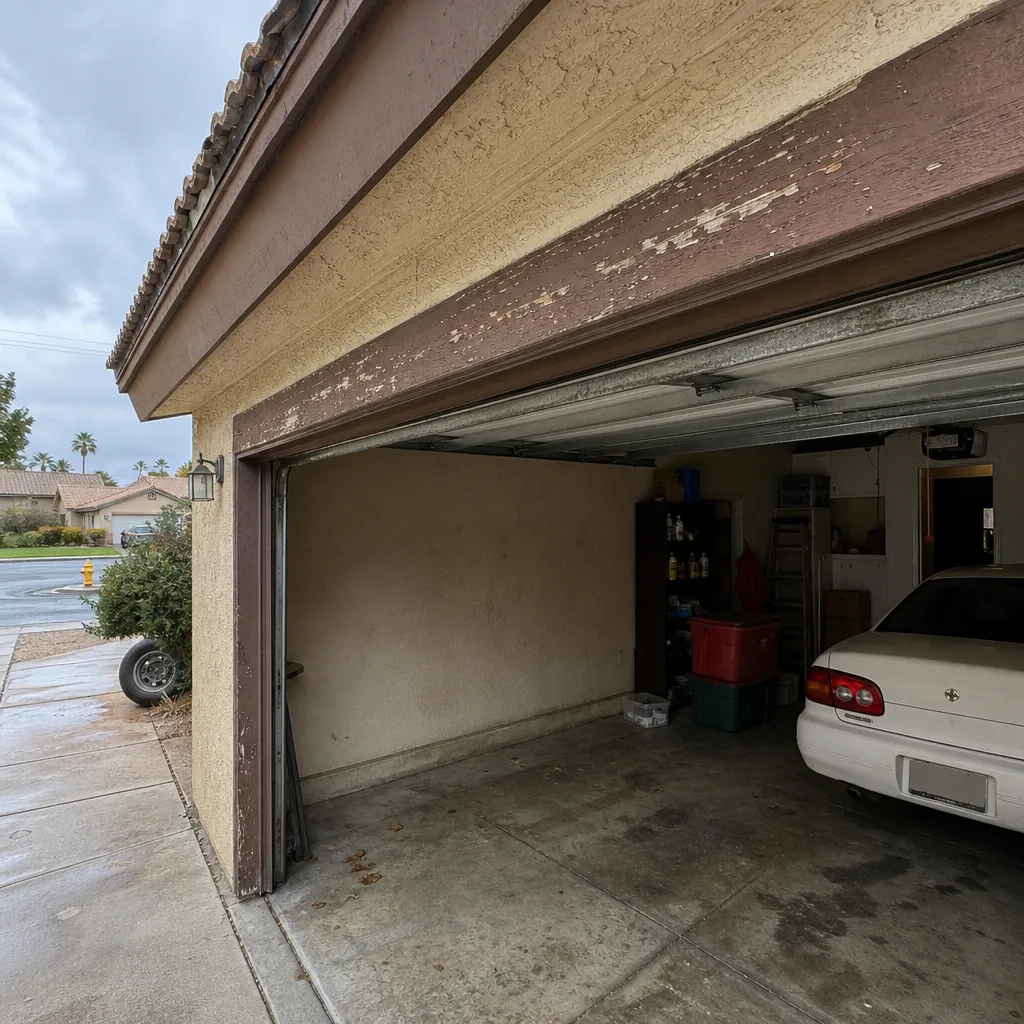 Before
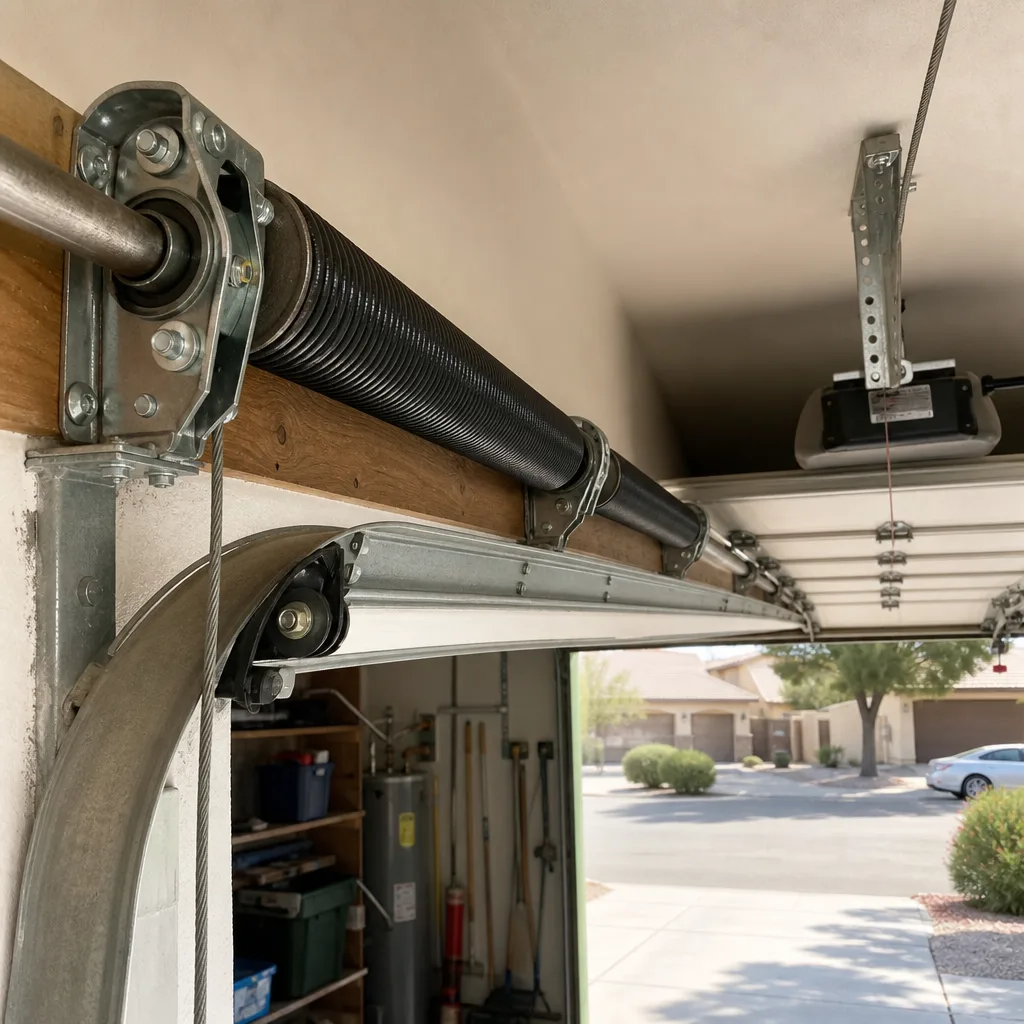 After
After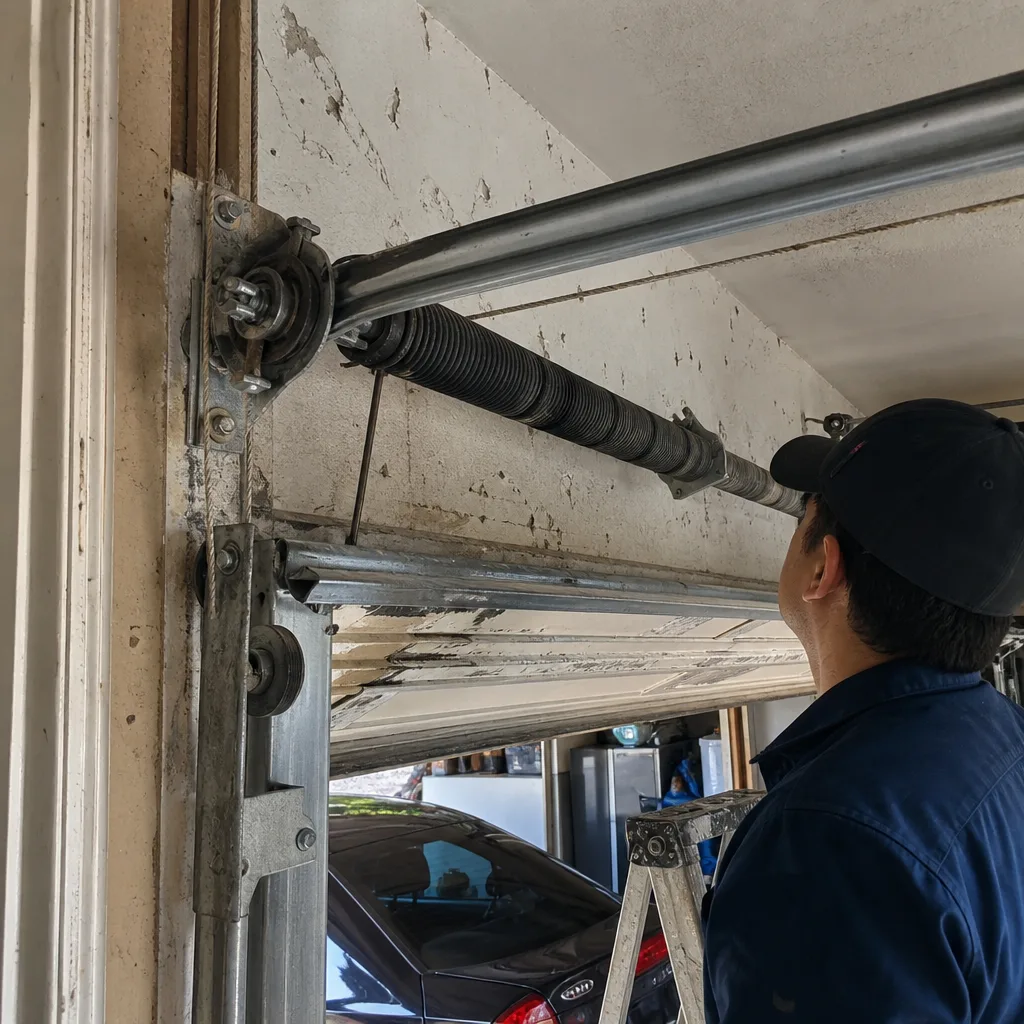 Before
 After
After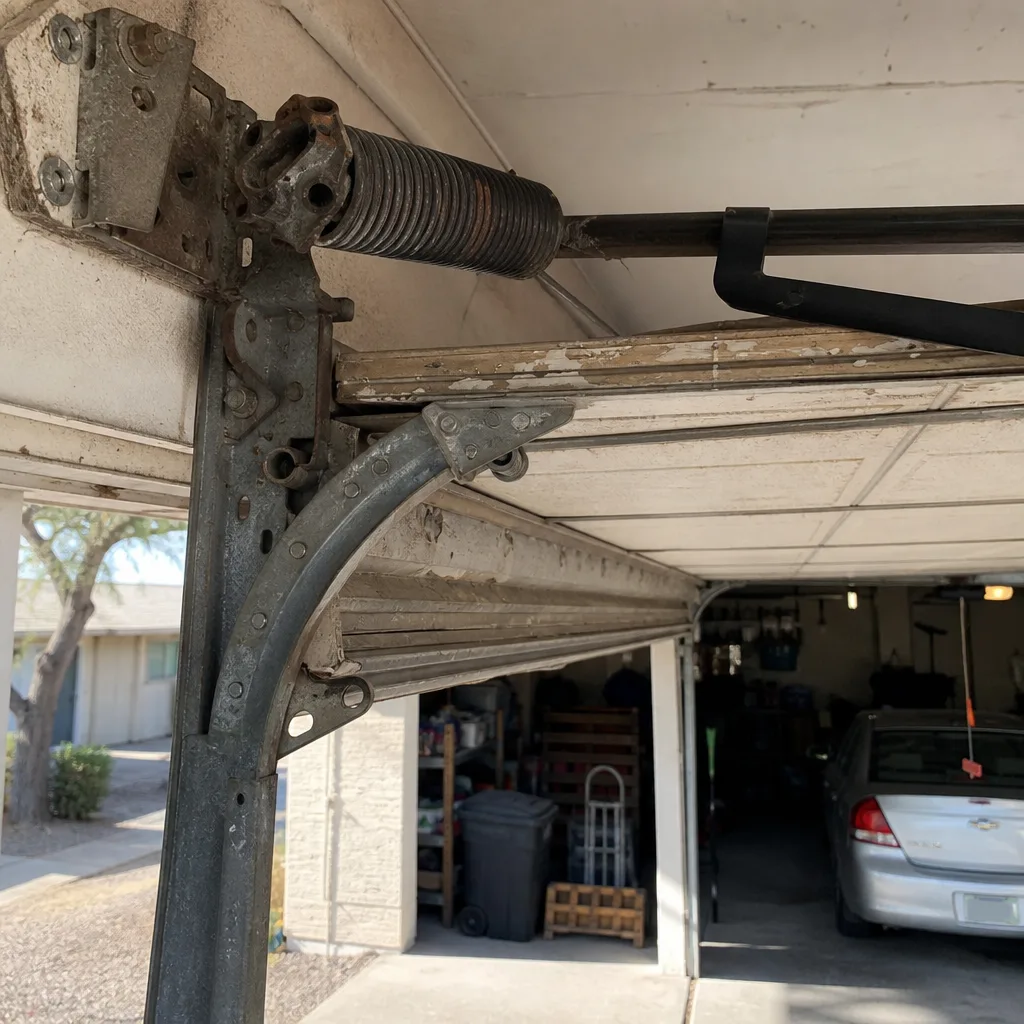 Before
 After
AfterDIY vs Professional Garage Door: The Mesa Homeowner’s Decision Guide
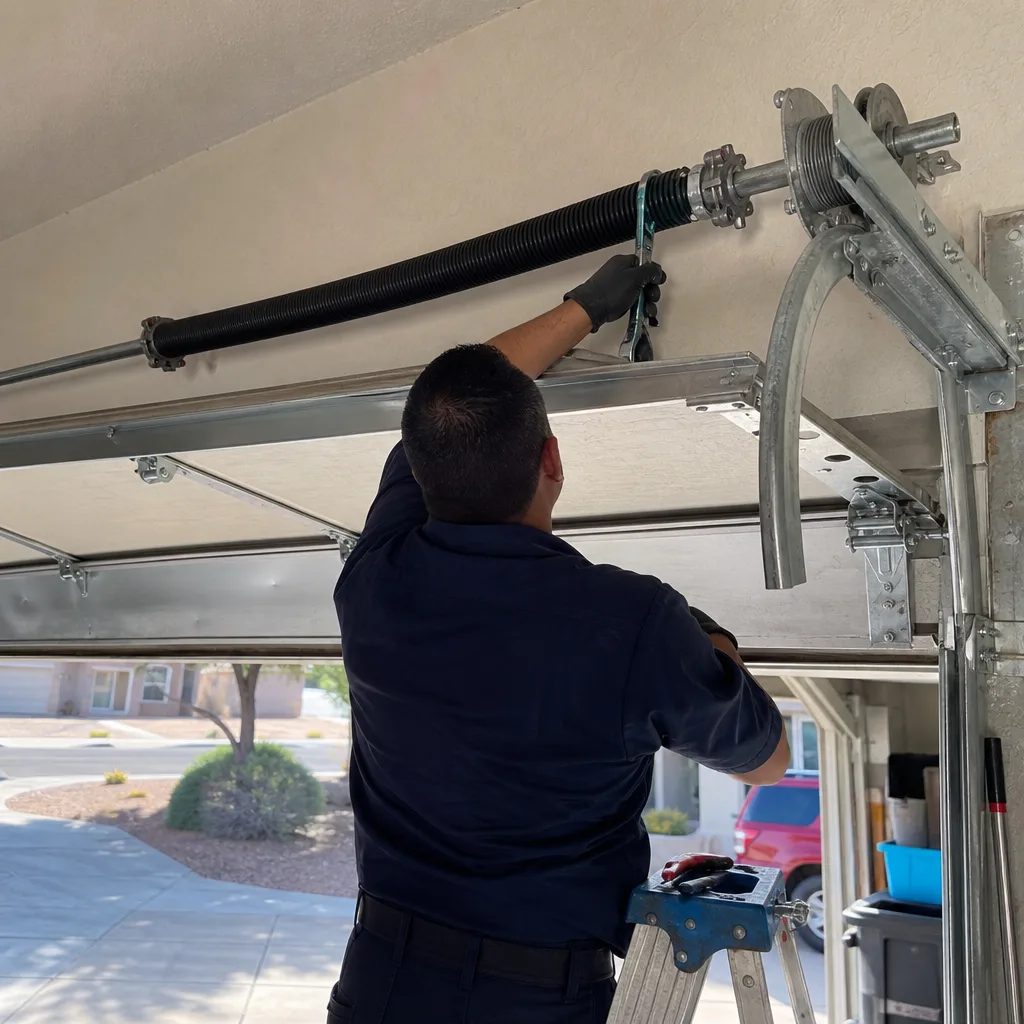
Here’s a statistic that should reframe the entire DIY garage door conversation: torsion spring replacement is the single most recommended DIY project in garage door content online, and it is also the task most likely to send a Mesa homeowner to the emergency room. Not because the mechanical concept is hard to understand. Because a wound torsion spring stores between 50 and 150 foot-pounds of torque, and when it releases unexpectedly, the tool in your hand becomes a projectile. This guide maps the decision component by component, using what we’ve seen across thousands of Mesa service calls since 2015. You’ll learn which repairs a careful homeowner can handle, which ones cross the line into license-required territory, and what the honest math looks like on both sides.
Quick Answer
DIY garage door work in Mesa makes sense for low-risk wear items like rollers, weatherstripping, and lubrication, but it becomes a bad bet on torsion springs, cables, and anything that touches the door’s structural balance. The line isn’t drawn by your confidence or your YouTube history. It’s drawn by the component and the stored energy it holds, plus Arizona contractor law and warranty language that most guides never mention.
Table of Contents
- The Component-Level Decision Table
- Arizona ROC Law and What It Actually Says About Your Garage Door
- Why Torsion Springs Are Different From Every Other Repair
- The Honest DIY Cost Calculation Most Guides Skip
- What Opener Warranties Say About Who Installs the Unit
- Documentation: The Part of DIY Nobody Teaches You
- What You’ll Actually Need: A Real Tool and Parts List
- What a Professional Service Call Actually Looks Like in Mesa
- Common Mistakes to Avoid
- When to Call a Professional
- Frequently Asked Questions
- The Bottom Line
BeforeAfterThe Component-Level Decision Table
The entire DIY versus professional question collapses into a simple framework once you stop asking “Can I do this?” and start asking “What part is this?” Every garage door repair in Mesa falls into one of three zones: parts you can replace safely with basic tools, parts that require training because failure carries risk, and parts that sit in a gray zone depending on your electrical experience. Here is the full breakdown based on what we see on service calls across Mesa, from Dobson Ranch to Eastmark.
| Component | DIY Viable? | Risk Level | Typical Professional Cost in Mesa | Why the Zone Is What It Is |
|---|---|---|---|---|
| Bottom seal replacement | Yes | Low | $85-$160 | No stored energy. Slide out the old seal, slide in the new one. A utility knife and 20 minutes. |
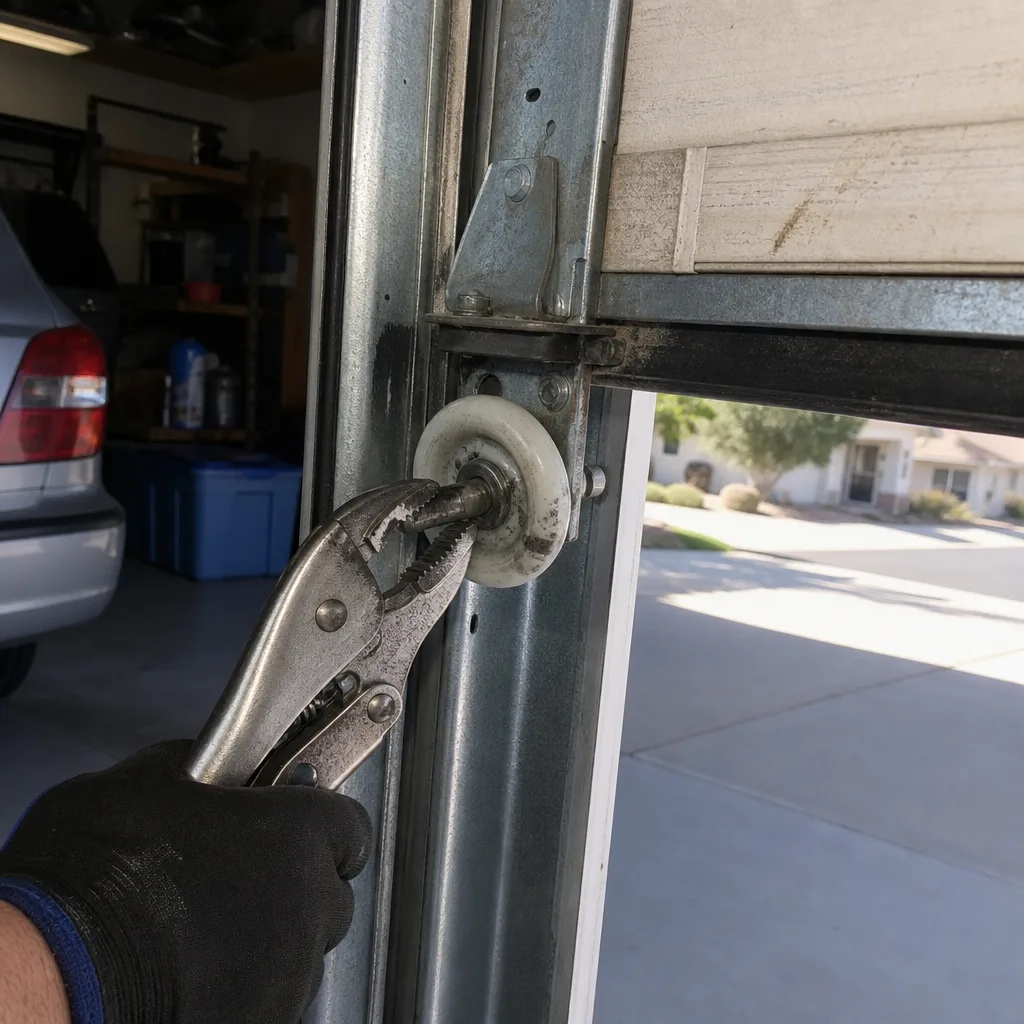
| Roller replacement | Yes, with caveats | Low to moderate | $110-$190 | Hinges and rollers are accessible, but you need to know which rollers are under tension. The bottom roller on each side carries the cable load. |
| Weatherstripping and trim | Yes | Low | $75-$140 | Cosmetic and seal work. No spring or cable involvement. |
| Opener remote programming | Yes | Low | Often included with service call | Follow the manual. If it doesn’t work, it’s usually a logic board issue, not a programming issue. |
| Lubrication and maintenance | Yes | Low | $89-$140 for a full tune-up | White lithium grease on the track, silicone spray on rollers and hinges. You don’t need a professional for this. |
| Opener installation (new unit) | Conditional | Moderate | $425-$750 installed | Depends entirely on your comfort with 120V wiring and ceiling mounting. The mechanical work is straightforward. The electrical and safety sensor alignment is where DIY installs go wrong. |
| Cable replacement | No | High | $165-$280 | Cables are under constant tension from the spring. Removing a cable without first unwinding the spring means the full force of the spring is on the part you’re about to touch. |
| Torsion spring replacement | No | Severe | $180-$340 | This is the one. Stored torque measured in foot-pounds. Requires winding bars, not improvised tools. A mistake here means a trip to the hospital or a damaged door, or both. |
| Extension spring replacement | No | High | $160-$290 | Older Mesa homes with extension springs have the same stored-energy problem with the added risk of the spring becoming a projectile if a safety cable isn’t present. |
| Track realignment | No | Moderate to high | $130-$240 | Track adjustment often requires working near the spring and cable points. A misaligned track causes uneven door movement, which stresses every other component. |
The pattern is clear. The DIY-viable items are wear parts that come off with hand tools. The professional items are all connected to the spring system, the cables that counterbalance the door’s weight, or the structural alignment of the door itself. Get that distinction and you’ve already made the right decision for 90 percent of situations.
For a deeper look at how these repairs fit into a full service picture, see our detailed guide to garage door repair in Mesa, which covers the repair process step by step.
Arizona ROC Law and What It Actually Says About Your Garage Door
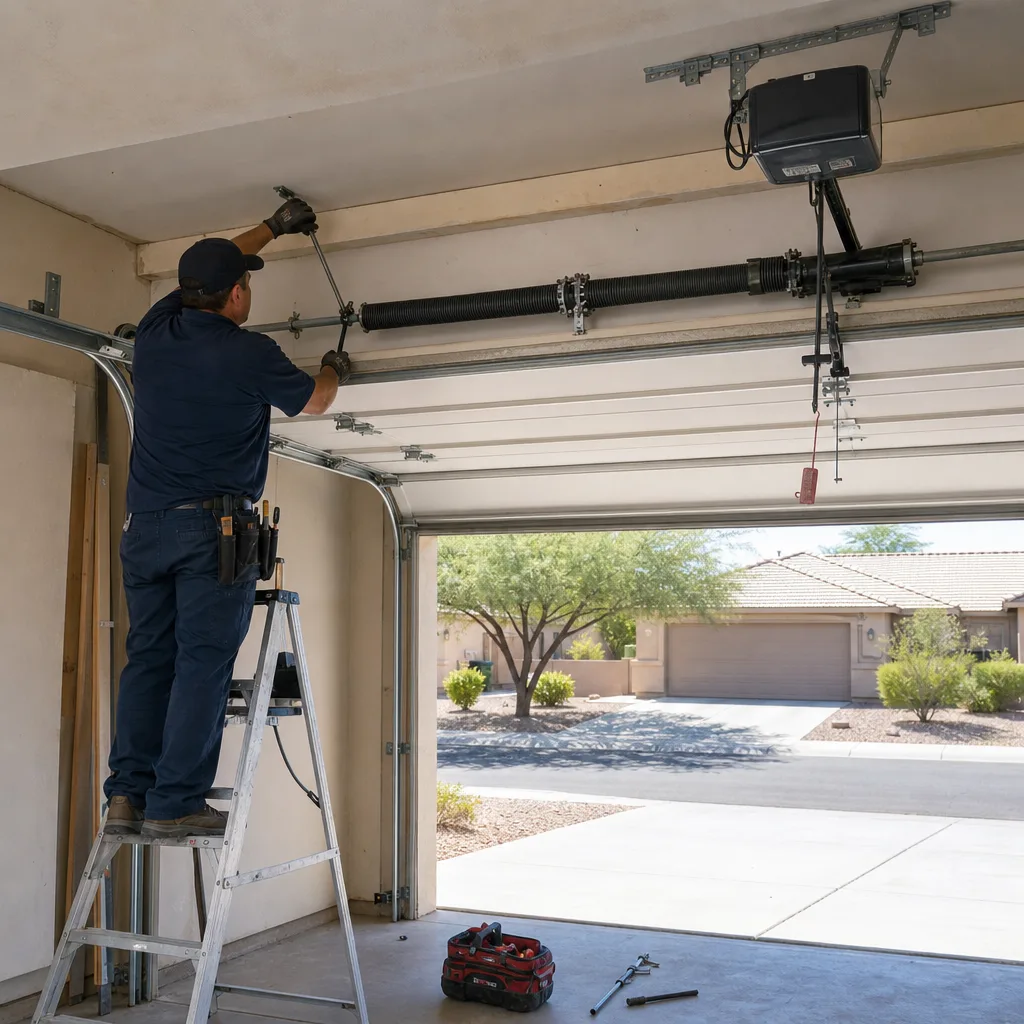
Most DIY garage door content ignores state law entirely. That omission matters in Arizona because the Arizona Registrar of Contractors has a specific definition of what counts as contractor work, and it’s broader than most homeowners assume. For a full breakdown of permit and code requirements, see our guide to Garage Door Permits, Codes & Inspections in AZ: What You Need to Know.
Under Arizona Revised Statutes Title 32, Chapter 10, any person who performs work on a residential property in exchange for compensation is required to hold an appropriate contractor’s license. That’s the commercial side, and it’s why any Mesa company working on your garage door should hold an active ROC license with the classification appropriate to the work, typically C-31 for door and gate work or B for general residential contracting. We hold our own license and insurance as an independently owned business; the documentation is available before anyone touches your door.
Here’s the part that affects you as a homeowner: the ROC’s exemption for owner-occupied work applies only when the property is your primary residence and you are not compensated for the work. If you own a rental property in Mesa and you’re doing garage door repairs on that property yourself, the exemption does not apply the same way. A landlord performing repairs on a tenant-occupied property is performing work on a property that generates income, and questions about permit requirements and liability exposure change. Even under the exemption, the ROC does not protect you from the consequence of doing a job badly and then having the door fail on a tenant, a guest, or a future buyer.
The practical takeaway: on your own home, you are legally allowed to work on your garage door. On a rental, call a licensed professional. On any job involving structural or spring work, the license question is secondary to the safety question, but it’s worth knowing that Mesa’s building department does require permits for some garage door replacements, particularly when the opening size changes or structural headers are involved.
Why Torsion Springs Are Different From Every Other Repair
Every experienced garage door technician can tell you about a spring that released during removal. Marcus Deller, our owner, started Servo Garage Doors Mesa in 2015 after years of seeing what improper spring work does to doors and to people. The mechanical principle is simple: the spring stores energy when wound, and that energy is what lifts the door. A typical residential door weighs 150 to 300 pounds. The spring does that lifting, which is why a properly balanced door feels light when you open it manually.
What most DIY guides understate is the release mechanism. When a spring breaks, it’s usually because the metal fatigued at a specific coil and snapped. That’s the common failure we see in Mesa, where summer heat cycles stress spring steel over years of expansion and contraction. The snap itself is loud enough that homeowners often call us thinking someone tried to break in. But the danger comes later, during the replacement, when the remaining functional spring still holds enough torque to spin a winding bar violently if it slips.
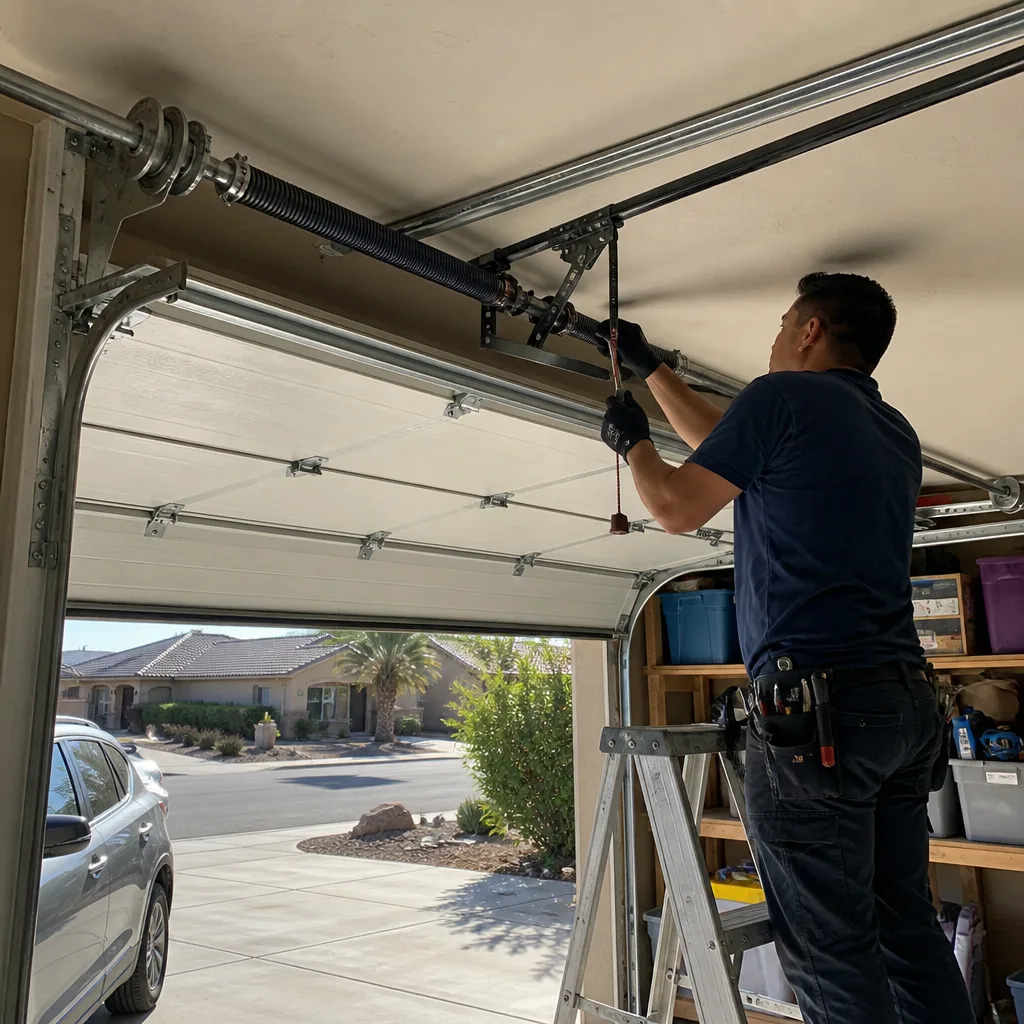
Professional replacement requires winding bars that fit the winding cone precisely, not screwdrivers, not Allen keys, not rebar. The bars need to be the right diameter and length. The technician stands to the side, never in the path of the bars. The spring is wound in controlled quarter-turns, and the set screws are checked at each stage. Even then, the job ends with a balance test: the door should hold at half height without drifting, and the opener should not strain. Those checks are part of the work, not optional extras.
We’re not saying no homeowner can learn this. We’re saying the cost of a mistake is asymmetric. A failed roller replacement means the door is annoying to open. A failed spring replacement means a hand injury, a broken jaw, or a door that comes down on a car, a child, or you.
If you want to understand what proper spring service looks like, our Mesa garage door repair page walks through the full diagnostic process, including how technicians identify spring fatigue before a break happens.
The Honest DIY Cost Calculation Most Guides Skip
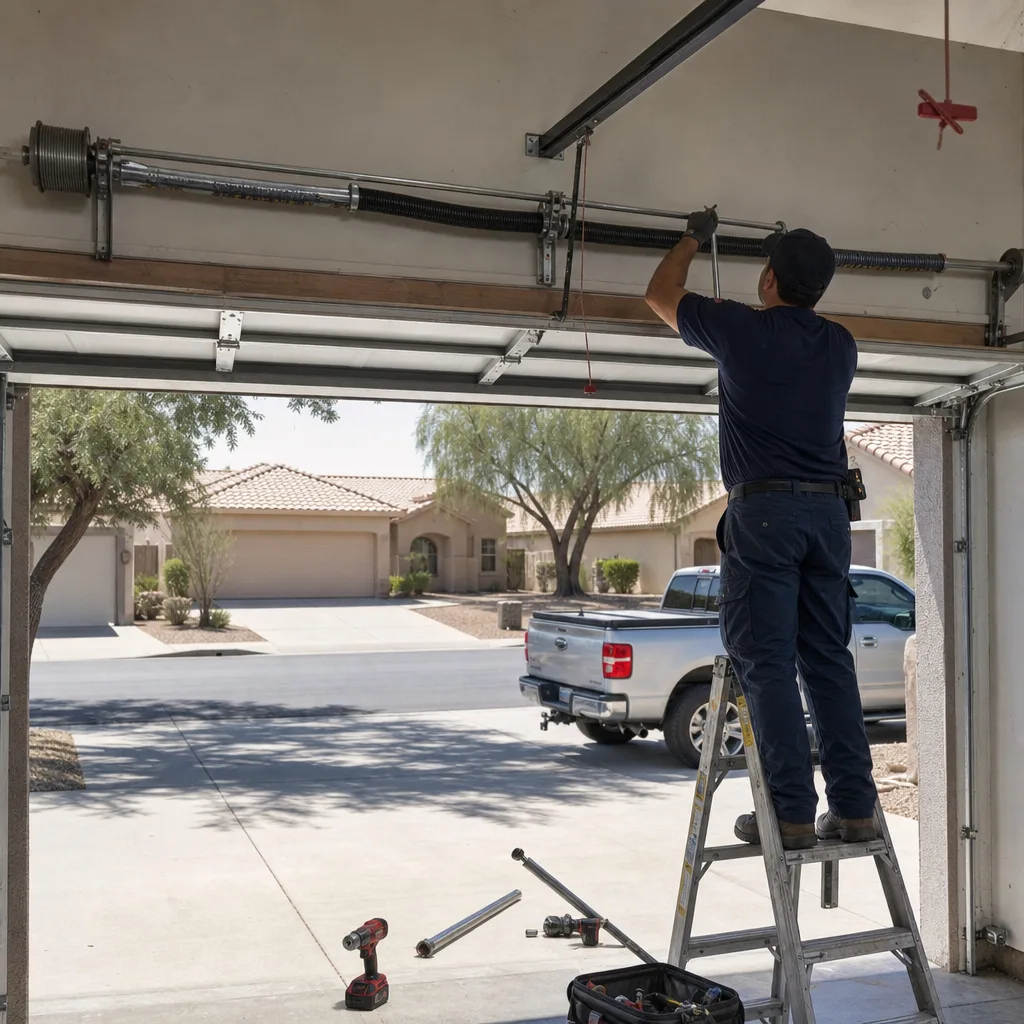
DIY content tends to quote the price of the part and stop there. That’s a dishonest accounting. When a Mesa homeowner calls us for a written quote, the number includes the part at our wholesale cost, the labor, the trip, the warranty, and the fact that if something goes wrong, we come back and fix it. When you do it yourself, your real cost looks different, and it’s worth doing the math before you commit. Our Garage Door Cost Breakdown: The Mesa Homeowner’s Reference for 2026 walks through typical repair pricing line by line.
Let’s use a torsion spring replacement as the example, since it’s the most mispriced DIY job in the space.
- The part, at retail versus wholesale. A standard torsion spring for a 16-by-7 door runs $60 to $100 at a Mesa hardware store or online retailer. A technician pays $25 to $45 for the same spring through supply channels. The retail markup is the first hidden cost.
- Tool rental or purchase. The winding bars, a proper socket set, and a torque wrench add up. If you own none of it, you’re looking at $40 to $90. If you rent, you still need to know what to ask for, and most Mesa rental counters won’t have garage door winding bars at all.
- Time, measured honestly. A first-time spring replacement takes three to six hours including diagnosis, setup, execution, and cleanup. A professional completes it in 45 to 90 minutes. Your time has value. Even at minimum wage, you’ve added $45 to $90 to the job.
- The mistake multiplier. If you wind the spring incorrectly, you may damage the door, the cables, or the opener. That turns a $200 professional job into a $600 to $900 professional job. The risk isn’t hypothetical; we’ve repaired dozens of DIY spring attempts across Mesa and Apache Junction.
Now run the same math on a bottom seal replacement. The seal is $20 to $35 at any hardware store. You need a utility knife, which you own. The job takes 20 minutes. Nobody gets hurt. That’s a genuine DIY win. The component-level decision table isn’t a blanket statement; it’s a map of where the math works and where it doesn’t.
When you have a professional quote in front of you, compare the line items. A written professional estimate should specify the spring wire diameter, the inside diameter, and the length. If a quote doesn’t, ask why. That’s the level of specificity you need to compare apples to apples.
What Opener Warranties Say About Who Installs the Unit
Most homeowners read warranty language only after something fails. That’s the wrong time, because the warranty terms often make a distinction between professional installation and DIY installation, and that distinction determines whether you’re paying for the replacement part or receiving it under coverage.
LiftMaster and Chamberlain, which are both manufactured by the Chamberlain Group, publish owner’s manuals that state the warranty covers defects in material and workmanship, not installation errors. The practical difference: if you install an opener yourself and the motor burns out because the door wasn’t balanced, the manufacturer will likely deny the warranty claim. The motor failure is a symptom of the installation, and the manual is explicit that the door must be balanced before opener installation. A licensed installer who adjusts the spring and confirms balance before mounting the opener is part of why professional installation preserves the warranty path.
Genie takes a similar position. Their warranty documentation covers the opener under normal use, but it also specifies that the opener must be installed according to the instructions, including safety sensor alignment and door balance verification. A homeowner who skips the balance check and the opener fails is now in a gray area with the warranty department.
There’s a second issue: proof of purchase and proof of installation. If you buy an opener at a Mesa big-box store and install it yourself, your receipt is your only documentation. If the opener fails 14 months later, you’re negotiating with a manufacturer warranty department using a faded receipt and your own memory of how the install went. A professional installation produces an invoice with the model number, the date, and often a documented record of the install. That’s evidence, and it changes the support call.
This is the same logic that applies to all major opener and door components. Keep your documentation. If you do the work yourself, photograph the install, keep the part receipts, and note the date in a home maintenance log. If you can’t produce evidence of what was installed and when, your warranty position is weak.
For a detailed look at how openers fail and what the repair process involves, see our page on garage door opener repair and installation in Mesa.
Documentation: The Part of DIY Nobody Teaches You
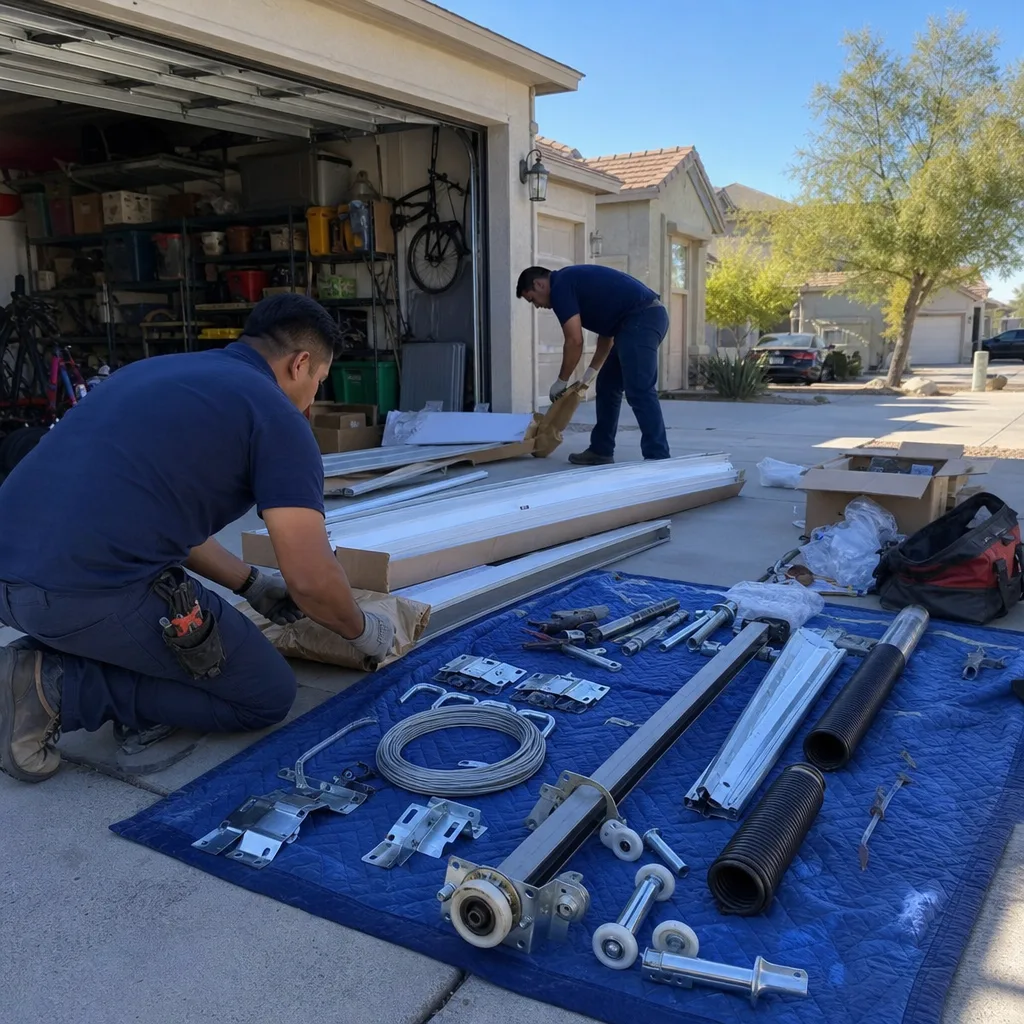
There’s a documentary discipline that separates professional work from amateur work, and it’s not the quality of the repair. It’s the record left behind. On every service call, our technicians photograph what they found, what they did, and the final result. You receive that photo record when the job is done. That’s Clause 4 of The Haven Standard, and it traces back to the founding rule this company was built on in 2015: the customer sees the failed part before anyone quotes a replacement.
You can do the same thing on DIY work, and you should. Here’s the documentation protocol we recommend for any Mesa homeowner working on their own garage door:
- Photograph before. Take photos of the area from multiple angles before you touch anything. If the door is binding, show where. If a roller is chipped, capture it. These photos protect you later if you need to explain what was present before your work.
- Photograph during. If you remove a part, photograph the mounting points and the orientation before you discard the old component. This is especially important for things like hinges, where the mounting direction matters.
- Photograph after. Final photos complete the record. They show the condition you left the door in, and they matter at resale.
- Keep the part receipts. A receipt with the part number, date, and purchase location is your warranty evidence. Staple it into a sleeve and keep it with the house documents.
- Log it in a maintenance record. A simple notebook entry with the date, the part replaced, the brand and model, and the cost. When you sell the house in six years, this log demonstrates that the garage door was maintained, which is a signal to buyers and inspectors.
Documentation is also the mechanism that makes a professional quote comparable. If you’re considering a DIY repair and you want a professional number to compare against, ask for a written quote that itemizes the scope. At Servo Garage Doors Mesa, the written price and written scope are delivered before any work starts, every time. That’s Clause 1 of The Haven Standard. You’re not calling for a vague estimate; you’re receiving a document you can hold against a DIY parts list.
What You’ll Actually Need: A Real Tool and Parts List
One of the most misleading things in DIY garage door content is the implication that you probably have what you need in the garage already. For most component-level repairs, that’s partly true. For others, it’s dangerously false. Here’s the honest list, organized by job type.
For rollers, hinges, and bottom seals:
- Socket set (3/8-inch drive covers most hinge bolts)
- Flathead and Phillips screwdrivers
- Utility knife with fresh blades
- White lithium grease (for track) and silicone spray (for rollers and hinges)
- Replacement parts matched to your door brand and weight rating
For opener installation:
- Complete opener kit (rail, motor, sensors, wall panel, remotes)
- Stepladder (6 to 8 feet)
- Stud finder
- Cordless drill with driver bits
- Socket set and wrenches
- Electrical test equipment if wiring into existing ceiling outlet
- Safety sensor alignment patience
For torsion spring work (we do not recommend this, but you should know what’s actually involved):
- Correctly sized winding bars (at least 18 inches long, sized to your spring’s winding cone, and rated for the torque)
- Torque wrench
- Full socket and wrench set
- Correctly matched replacement spring, including wire diameter, inside diameter, and length
- Ability to work on a ladder with both hands above shoulder height while managing high-tension components
The last item on the last list is the one that matters most. Spring work is done overhead, under tension, with tools that can become dangerous if they slip. If you’re not completely comfortable working with both arms elevated while managing substantial force, that’s not a confidence problem. That’s a signal that the job sits outside your safety envelope, and the right move is a professional.
For the components where DIY is genuinely viable, the tool list is modest and the risks are low. Mesa’s dry climate fortunately means less rust than coastal areas, but dust buildup on tracks and rollers is a real factor here. A good annual cleaning and lubrication is the single best DIY maintenance item, and it extends the life of every other component. Our Garage Door Repair Maintenance Checklist for Mesa Homeowners covers what to inspect and when.
What a Professional Service Call Actually Looks Like in Mesa
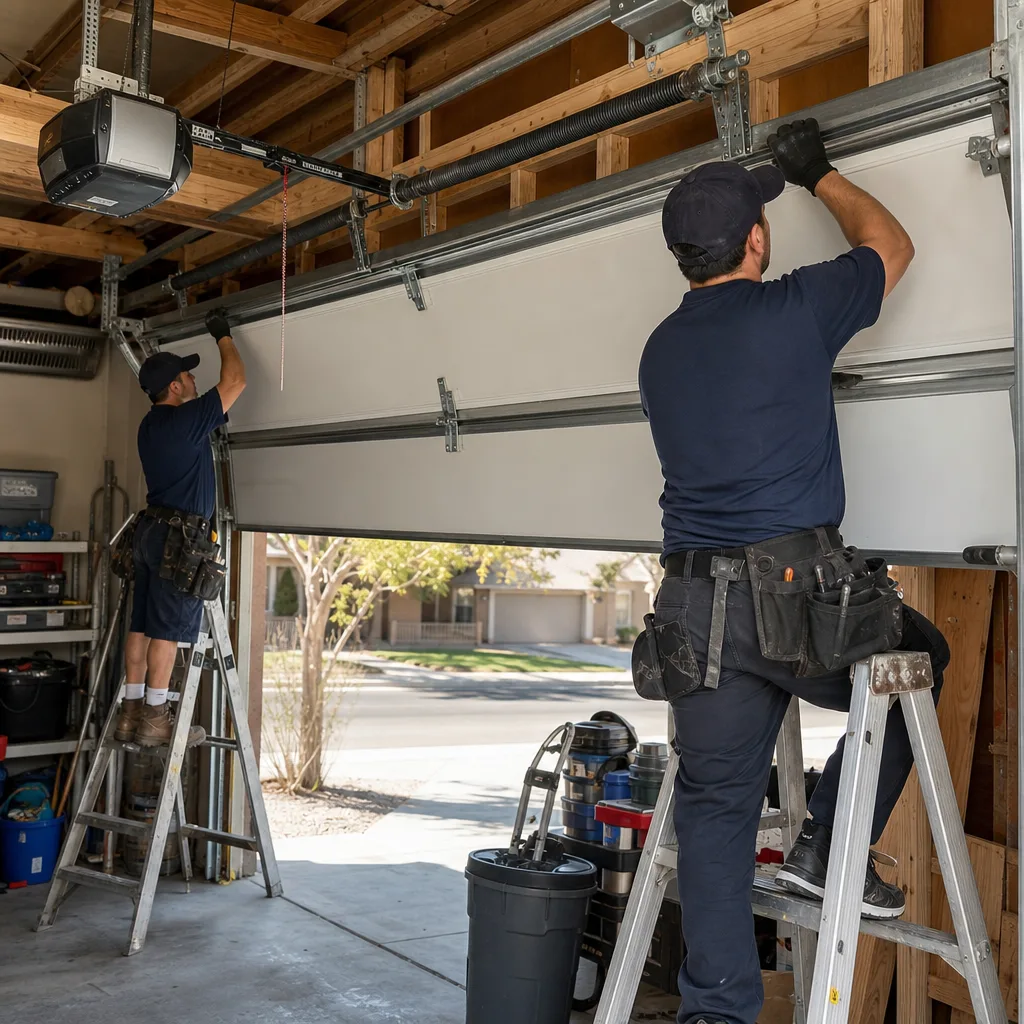
Most Mesa homeowners have never hired a garage door company before the day the door stops working. Understanding what a proper service call includes demystifies the process and helps you evaluate who you’re hiring. Here’s what a professional visit with Servo Garage Doors Mesa looks like, start to finish.
You call, a person answers. There’s no phone tree, no recording, and no callback window. Someone answers the phone 24 hours a day, 7 days a week, including holidays. You describe the problem, you get a real person, and if it’s an emergency, you get a named technician and an on-the-way text with a time.
The technician arrives with the truck stocked. Our trucks carry parts for all eight major brands: LiftMaster, Chamberlain, Genie, Clopay, Amarr, Wayne Dalton, Craftsman, and Raynor. Most repairs are completed on the first visit because the parts are on hand, not ordered and re-scheduled.
Diagnosis comes first, and it’s documented. Before any work is quoted, the technician identifies the failed component. If it’s a broken torsion spring, they’ll show you the break, explain the spring’s specifications (wire diameter, inside diameter, length), and document it with a photograph. That photograph is part of the record you receive.
The written price comes before the work. Clause 1 of The Haven Standard means you receive a flat, written price and a written scope before anything is touched. There’s no “we’ll see how it goes” pricing. The number you approve is the number on the invoice, and the number is agreed before work starts.
The repair is completed, tested, and documented. After the repair, the technician cycles the door, checks balance, tests the opener’s force settings, and confirms the safety sensors are aligned. Then they photograph the completed work. You receive that photo record when the job closes.
The 365-Day Done Right Promise applies. If the repair isn’t right, we make it right. That’s backed by The Haven Standard and a terms page, not a handshake. The documentation system exists precisely so that if something does go wrong, the record is clear.
That’s the baseline. A competent professional service call in Mesa should include all of those elements. If you’re comparing quotes and a company can’t tell you what spring wire diameter they’re installing or what the written scope includes, that’s an answer in itself.
For a broader look at the repair process and the specific issues Mesa homeowners face, see our full garage door repair guide for Mesa.
Common Mistakes to Avoid
- Using improvised winding bars. Screwdrivers, Allen keys, and rebar are not winding bars. They don’t fit the winding cone properly, they slip under torque, and they turn a controlled spring release into a hazard. If the tool doesn’t seat fully into the cone, it’s the wrong tool.
- Skipping the balance test after a repair. A door should hold at half height without drifting and without the opener straining. If you replace a part and skip this check, you’ll discover the imbalance when the opener burns out or the door slams down at 3 a.m.
- Buying parts by brand instead of specification. A Clopay door doesn’t take a “Clopay spring.” It takes a spring with a specific wire diameter, inside diameter, and length. Amarr and Wayne Dalton doors are the same. Match the spec, not the label, or the balance will be wrong.
- Ignoring the safety sensor alignment on opener installs. The sensors at the bottom of the track must be perfectly aligned and wired correctly. A misaligned sensor causes the door to reverse or refuse to close, and many DIY opener installers misdiagnose this as a motor problem.
- Not documenting the work. If you don’t photograph, keep receipts, and log the job, you have no evidence when the part fails at month 11 and the manufacturer asks for proof of purchase and installation. Documentation is the cheapest insurance you’ll ever buy.
- Working on a rental property without checking the law. Arizona’s ROC exemption for homeowner work applies to owner-occupied residences. If you’re repairing a garage door on a Mesa rental property you own, you’re operating outside the exemption’s intent, and your liability exposure is different.
- Underestimating Mesa heat’s effect on components. Spring steel fatigues faster in sustained heat cycling. A spring that looks fine in January may be at the edge of failure in August. If you’re doing DIY inspection, check spring coils for gaps and rust in late summer.
When to Call a Professional
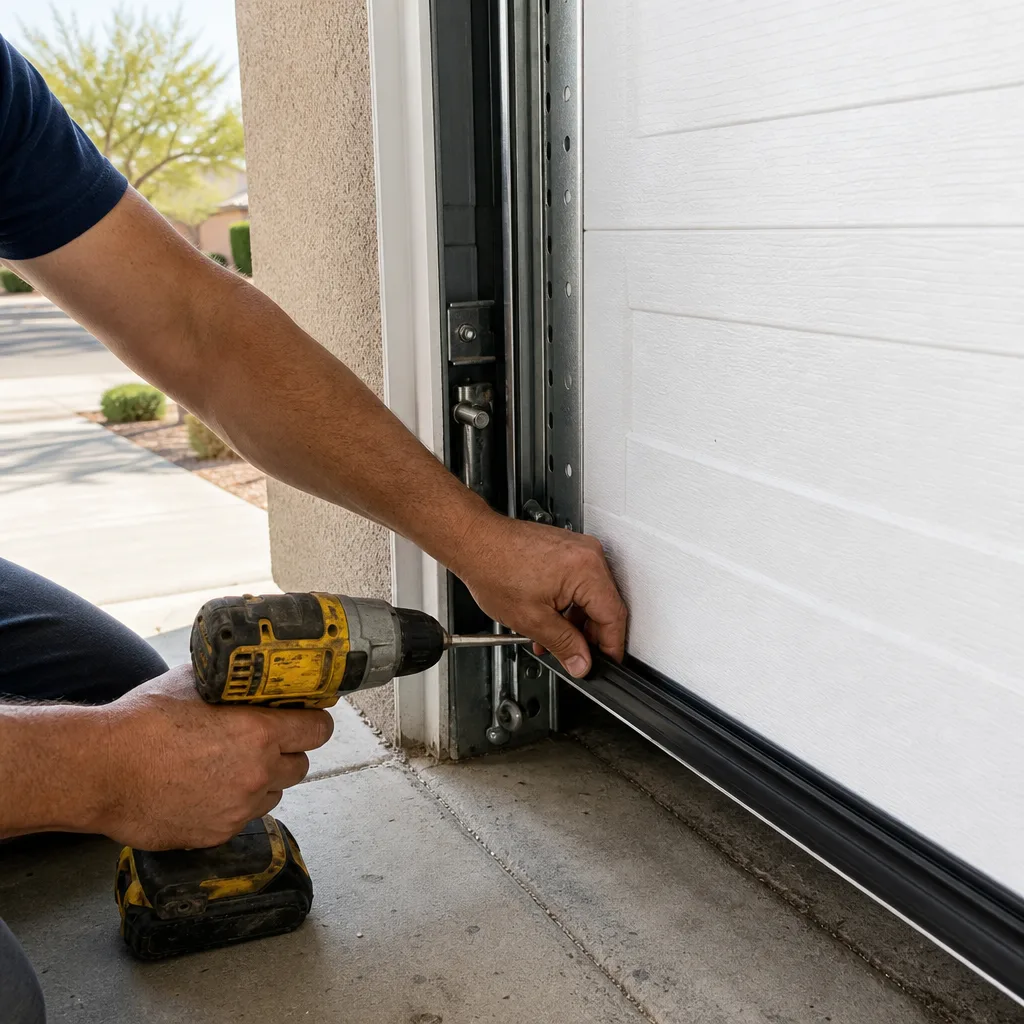
There’s no shame in calling a professional, and the homeowners who do their research before calling are exactly the customers we work with every day. Explore more guides & resources to help you make informed decisions about your garage door. Call a professional when: the spring is broken or shows coil separation; the cables are frayed or off the drum; the door is off track or binding on one side; the opener’s force settings need adjusting after a repair; the door won’t hold at half height; or you’ve started a DIY job and discovered it’s more than you expected. That last one is more common than most people admit, and it’s fine. Servo Garage Doors Mesa offers free estimates, and if you bring a written estimate from another company, we’ll provide a free second opinion. Call (520) 391-9660 and a person will answer.
Frequently Asked Questions
Most Mesa garage door repairs run between $85 and $340 depending on the component. A bottom seal replacement typically costs $85 to $160, roller replacement runs $110 to $190, and torsion spring replacement runs $180 to $340. Every job at Servo Garage Doors Mesa is quoted with a flat, written price before work starts, so you’ll know your exact number before anyone touches the door. Call (520) 391-9660 for a free estimate with line items.
You can, but you shouldn’t. Torsion springs hold 50 to 150 foot-pounds of stored torque, and improper winding causes serious injuries every year. Professional replacement requires correctly sized winding bars, controlled winding technique, and a balance test afterward. In Mesa, professional spring replacement costs $180 to $340, which is less than the cost of an ER visit or a damaged door.
Bottom seals, weatherstripping, rollers on non-tension hinges, and lubrication are all reasonable DIY projects in Mesa. These parts require basic hand tools, hold no stored energy, and cost $20 to $100 in materials. Anything connected to the spring system, cables, or track alignment should go to a professional.
Yes, for compensated work. Anyone performing garage door repair or installation for payment in Arizona needs an active contractor’s license through the Arizona Registrar of Contractors. Homeowners working on their own owner-occupied residence are exempt, but that exemption doesn’t extend the same way to rental properties.
At Servo Garage Doors Mesa, no. The written price and written scope are delivered before any work begins, and that’s Clause 1 of The Haven Standard. The price you approve is the price on the invoice. If additional issues are found during diagnosis, they’re documented and quoted separately before any additional work is authorized.
Most Mesa repairs are completed in 45 to 90 minutes on the first visit. Our trucks carry parts for all major brands including Genie, Clopay, Amarr, Wayne Dalton, LiftMaster, and Chamberlain, so there’s rarely a second trip. Emergency calls are answered by a live person 24/7, and you’ll get a named technician and an on-the-way text.
The Bottom Line
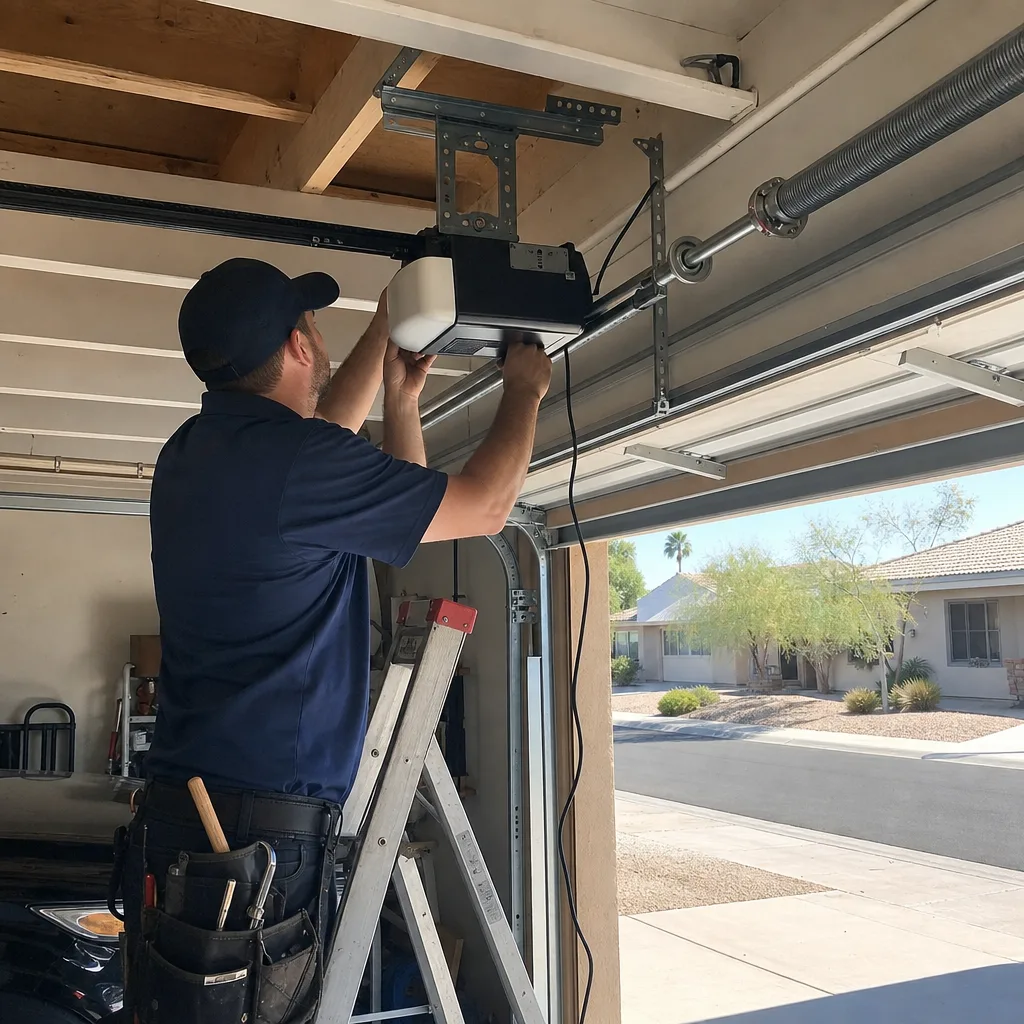
The DIY versus professional question on garage doors is a component-level decision, not a personal capability judgment. Rollers, seals, lubrication, and remote programming are legitimate DIY wins. Springs, cables, track work, and anything that involves stored energy or structural alignment belong with a licensed professional. Arizona law, warranty language, and the honest math of tools versus wholesale parts all point the same direction. The Mesa homeowner who researches before calling is the customer who gets the best result, because they ask for the written price, the documented scope, and the photo record. That’s what evidence-first service looks like.
Written by Marcus Deller, Owner at Servo Garage Doors Mesa, serving Mesa since 2015.